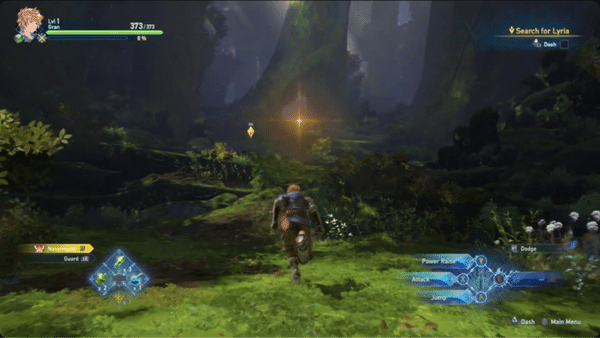
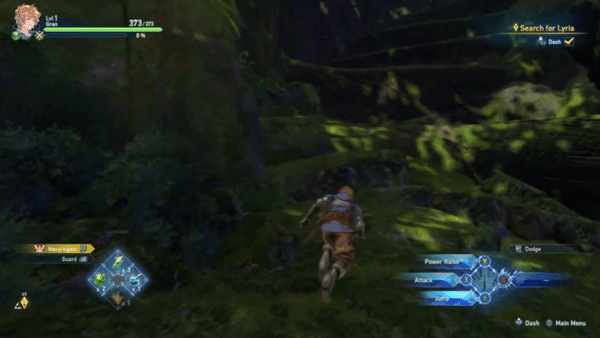
Chapter 1: The Western Frontier is a Main Quest in Granblue Fantasy Relink. Players are tasked to reunite with Lyria and the other party members upon stumbling in Sundappled Grove. As the player progresses through the quest, they will encounter a boss called Quakadile. This is where the other party members will also show up and help The Captain in slaying the creature. After defeating the Quakadile, The Captain, along with his crew, heads to the nearby town. After exploring the town, they discover another danger that's taking place in a nearby village. Main Quests in Granblue Fantasy Relink are primarily tied to the story or main campaign of the game which requires a player to complete it to progress story-related events, unlock more game features, discover new locations, and more. This page covers guides, quest objectives, and a complete walkthrough for the "Chapter 1: The Western Frontier" main quest in Granblue Fantasy Relink.
General Information
- Previous: Prologue: The Forgotten Sky
- Next: Chapter 2: Tempest on the Horizon
- Bosses: Quakadile
- Location: Sundappled Grove / Folca, Frontier Town
Quest NPCs
- Vyrn
- Lyria
- Katalina
- Rackam
- Io
- Rosetta
- Eugen
- Sierokarte
- Gruff Blacksmith
- Nearly Retired Adventurer
- Forlorn Peddler
- Lil Pince
- Famed Apothecary
- Rolan
- Flustered Man
Quest Bosses
Quest Enemies
All Items & Rewards
Weapons
- N/A
Sigils
Treasure
Key Items & Other
- Wee Pincer
- Traveler's Journal
- Message from the Defense Corps
- Fishing Tournament Flyer
- Need a Handyman?
Enemy Drops
- N/A
Quest Rewards
- N/A
Chapter 1: The Western Frontier Quest Information
Chapter 1: The Western Frontier Quest Description
As Lyria, Vyrn, and The Captain fall off from the ship, they land in a place called Sundappled Grove. Lyria is separated from the rest, and The Captain is tasked to look for Lyria along with the other skyfarers. They then encounter a large beast called the Quakadile. After slaying the creature, the party heads to the nearest town, and discovers another danger that's happening in a nearby village.
Chapter 1: The Western Frontier Quest All Chests Locations
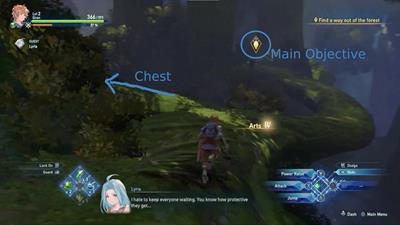
- From the starting point, move forward and you'll find a narrow path on the left side. Take that path and follow it until you reach the end, you can open a chest there that contains a Prism Chip and some rupies.
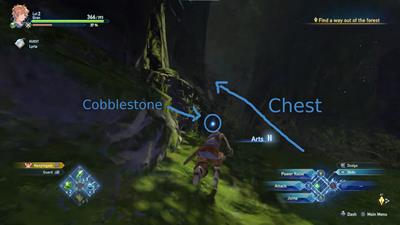
- From the second Cobblestone you've looted, turn right and climb up the steps next to the giant tree, you'll find a Chest that contains a Rafale Coin and some rupies.
- After opening the second chest, drop down on your left and climb up the steps in front of you. You'll find another chest at the top that contains a Fortitude Shard and some rupies.
- From the Tempestone loot after the fight, drop down and push forward, you'll spot a chest on the left along the way. It contains a Wind Shard and some rupies.
- After clearing the enemies in the area (3 Timber Wolves and 2 Hornbirds), take the narrow path beside the Cobblestone loot, you'll find a chest containing a Glitterstone (S) and some rupies.
- After clearing the blocked path, take the path on the left and you'll find a chest containing a Wind Shard and some rupies. Before the drop to the next area on your right will be a whorlshroom.
Chests in Folca
- From the balcony overlooking the town, drop down and climb up the roof of the house on your left by jumping, you can pick up a Prism Chip on the roof if you haven't already, then at the left side, there's a chest on the balcony. It requires a Gold Key to be opened.
- After picking up the document Need a Handyman? Go through the arch stones on your left and turn right, there's a chest near the waterwheel that contains Fortitude Shard x2 and some rupies.
- After picking up the document Need a Handyman? Go through the arch stones on your left, then turn left and go through the bushes, you'll see a Locked Chest there, but it will require a Whitewing Key to open it.
- From the Need a Handyman? document, turn right and take the stairs on your left. Once you go down, take the path on your right and go through the arch, you'll spot a chest nearby containing Rafale Coin x2 and some rupies.
- Down the same street where Io is currently located, you'll spot a Locked Chest near a large wooden door. It requires a Silver Key to be opened.
- A Locked Chest can be found just next to Rosetta. It requires a Silver Key to be opened.
Chapter 1: The Western Frontier Quest All Shrouded Treasure Locations
- There are no Shrouded Treasure Chests for this quest.
Chapter 1: The Western Frontier Quest All Omen Stone Locations
- There are no Omen Stomes for this quest.
Chapter 1: The Western Frontier Quest All Wee Pincer Locations
- Upon starting the quest, follow the marker on your screen, it should lead you behind a small tree with a giant hole in its trunk. As soon as you see the tree, stop and turn right to spot the steps on your right. Make your way up the steps and grab the Wee Pincer on the ground.
Chapter 1: The Western Frontier Quest All Slimes
- There are no Slimes for this quest.
Chapter 1: The Western Frontier Quest All Archives
- After saving Lyria, continue following the quest marker and stick to the left side, you'll eventually spot a purple loot on the ground. Pick it up to obtain the Traveler's Journal.
- Once you reach the nearby town, turn around and grab the Message from the Defense Corps document sticking to the wall.
- After speaking to the blacksmith in town, take the path on your left and go near the pond, on the left side you can pick up the Fishing Tournament Flyer.
- You can pick up the Need a Handyman? document on top of the bench near the waterwheel in town.
Chapter 1: The Western Frontier Quest Objectives
- Search for Lyria
- Defeat the Timber Wolves
- Find a way out of the forest
- Defeat the quakadile
- Head for the nearest town
- Explore the town
- Speak with Katalina
- Speak with Rackam
- Speak with Io
- Speak with Eugen
- Speak with Rosetta
- Wait for your allies at the church
- Chase after the man
- Get ready and head to the dock
GBF Relink Full Chapter 1: The Western Frontier Walkthrough
Wake up, Captain!
The quest starts with Vyrn waking up The Captain from a dream. You'll find yourselves within the Sundappled Grove, and your first objective is to locate Lyria. Before you proceed with the main objective, you can pick up a Wee Pincer along the way. Move toward the quest marker and as soon as you see the tree, turn right then climb up the steps and make your way to the top. You can then pick up the Wee Pincer on the ground.
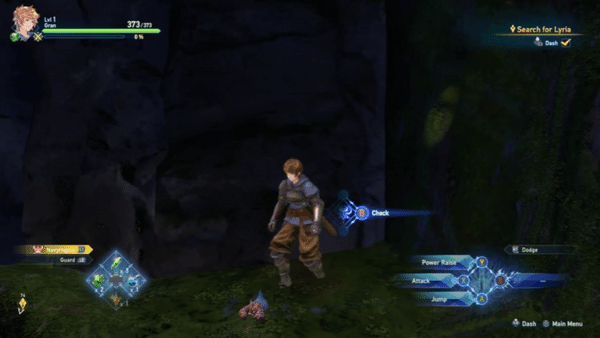
Now descend back down and instead of going through the trunk of the giant tree, take the path on the left and climb to the top. You'll find a loot and once you pick it up you'll obtain a Cobblestone. Drop down and continue following the path ahead, then turn left at the first possible chance, and you'll find another Cobblestone just ahead. From here, turn right and climb up the steps and you'll find a chest just next to the giant tree. The chest contains a Rafale Coin and some rupies. Now turn left and drop down, then climb up the steps in front of you, at the top is another chest, it contains a Fortitude Shard and some rupies.
Now drop down and continue following the main path but you'll see it's being blocked by vines of ivy. You can clear the path by attacking it.
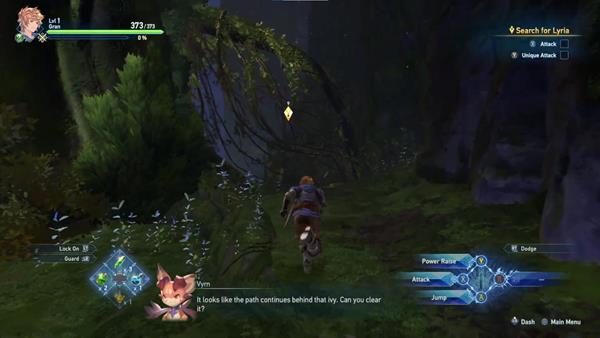
Continue moving forward and you'll see another one blocking the path, on the right is another loot, pick it up to obtain another Cobblestone. After clearing the vines, continue following the quest marker and once you reach the area, it'll trigger a short cutscene. You'll find Lyria about to be attacked by three Timber Wolves. This part of the quest will serve as a tutorial to learn some of the combat mechanics of the game. Take your time to read the prompts that will show up on the screen.
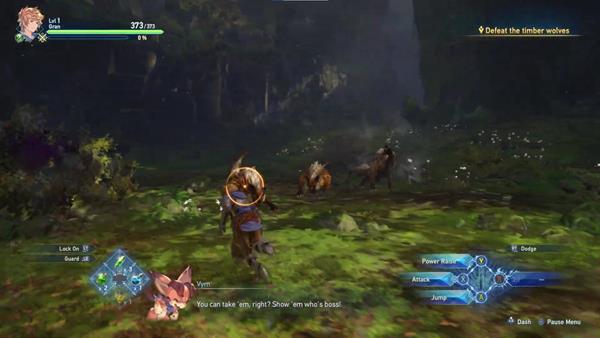
Defeat the three Timber Wolves and be prepared for the second wave with another three Timber Wolves. Once you make quick work of them, a small cutscene will play and three more Timber Wolves will spawn in the area. The game will then guide you on how to your Skills. Just follow the instructions on the screen and you'll take the three Timber Wolves out together in a single blow.
After saving Lyria, your next objective is to find a way out of the forest. Follow the quest marker and along the way, you'll spot another loot on your left, pick it up to obtain another Cobblestone. Just further ahead is another Cobblestone you can loot, and a little further you'll spot a purple loot on the ground, pick it up to obtain the Traveler's Journal.
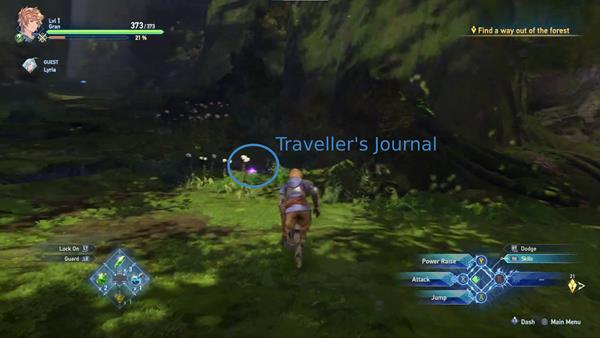
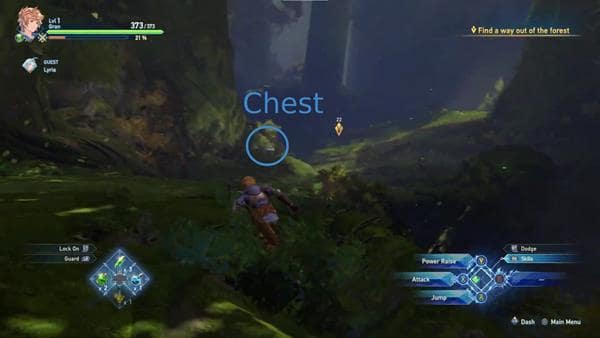
You can check out Lyria's Journal to read notes and other documents you've collected along your journey. Progress forward and at the edge on the right, another loot can be spotted, pick it up for another Cobblestone. The climb up the steps on your right, at the top is another loot. Pick it up and you'll receive a Tempestone. Now drop down and push forward, along the way is another chest you can loot. It can be seen on your left, loot the chest to obtain a Wind Shard and some rupies.
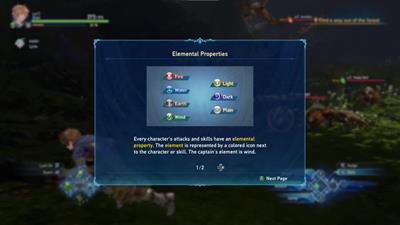
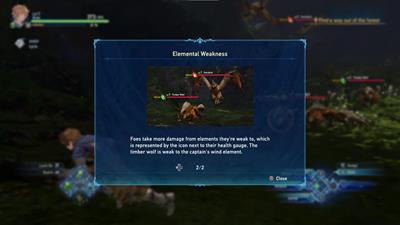
Proceed forward and you'll encounter more enemies, this time a new enemy type called a Hornbird will spawn along with the Timber Wolves. This part of the game will guide you on how Elemental Properties work within the game. The prompt states that every character's attacks and skills have an elemental property and the element is represented by a colored icon next to the character or skill. In this case, The Captain's element is wind. In this game, some enemies are weak to certain elements, and you can determine an enemy's weakness with the icon next to their health gauge. In this case, you'll find out that the Timber Wolves are weak to Wind, so The Captain can deal significant damage to them with his attacks. The Hornbird, however, is weak to Fire, but this doesn't necessarily mean that you'll have to use a Fire element character to take them down, it'll just be faster if you use their weakness against them. For this fight, you'll need to defeat three Timber Wolves and two Hornbirds.
After clearing the enemies, pick up the loot at the corner for a Cobblestone. Take the narrow path behind that loot you just picked up, you'll find a chest containing a Glitterstone (S) and some rupies.
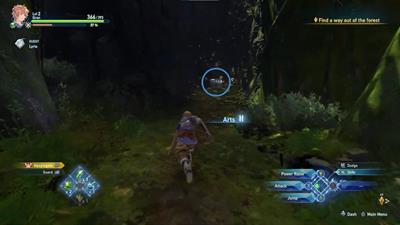
Now continue following the quest marker and attack the wall of ivy trapping a giant boulder to clear the blocked path. Move forward and take the path on your left first, you'll find a chest containing a Wind Shard and some rupies.
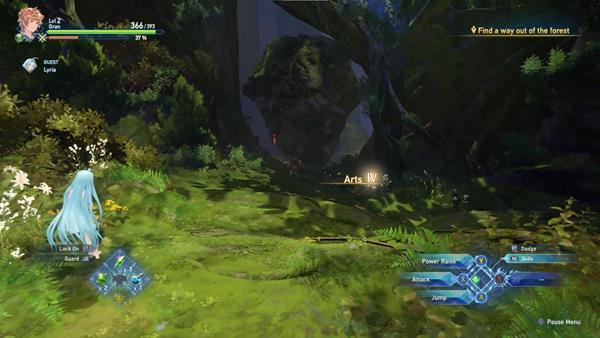
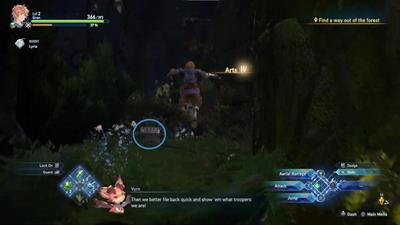
Now head back down and proceed. As you approach the quest marker, you'll hear a voice calling out Lyria and The Captain's name, turns out it was Katalina and Rackam. As Vyrn calls out their name, a giant creature is awoken from its slumber.
Boss Fight: Quakadile
This boss is called the Quakadile, you might be familiar with this boss if you've played the Demo Version of Granblue Fantasy Relink. It has all the same moves from the demo version as well. As you're fighting the Quakadile, you'll hear Katalina scream and attack the Quakadile. Katalina, as well as Rackam and Io, now join your party.
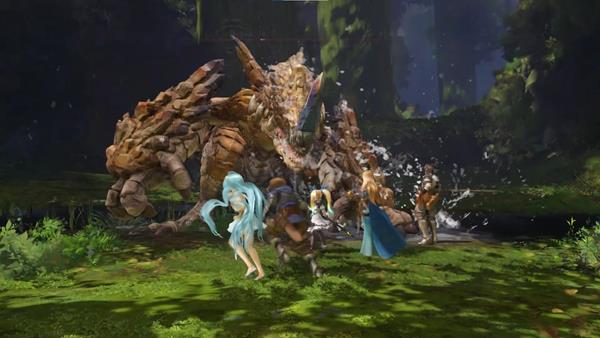
Just like the Greatshield Madbeat, this boss has a yellow bar of meter just below its health bar, and once this fills up, the Quakadile will go into Overdrive Mode and Bloodthirst will take effect. When they are in this phase, Skybound Arts will be rendered ineffective against them while also reducing all the damage they take. However, your attacks will now start depleting the yellow meter instead of building it up, even when using your weakened Skybound Arts. Some bosses will also have access to special attacks that are different from their base form, but this one will only have access to two new moves and retain most of its basic attacks from its base form. This phase will only be temporary but it can happen more than once during a boss fight. When the yellow bar is fully depleted, Bosses will enter a state called Break, rendering them exhausted for a while, this will be your chance to land your biggest attacks.
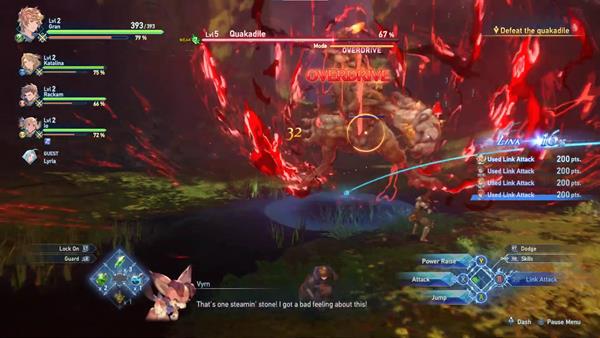
Once you fill up the Quakadile's stun gauge, the game will prompt you on how Link Attacks work. An enemy's stun gauge fills up as they take hits and once it's full, a link chance will trigger. Press 〇 during a link chance to perform a Link Attack with your party members. Performing actions like Link Attacks will raise the party's Link Level, and if all party members perform a link attack at 100% Link Level, you'll gain temporary buffs.
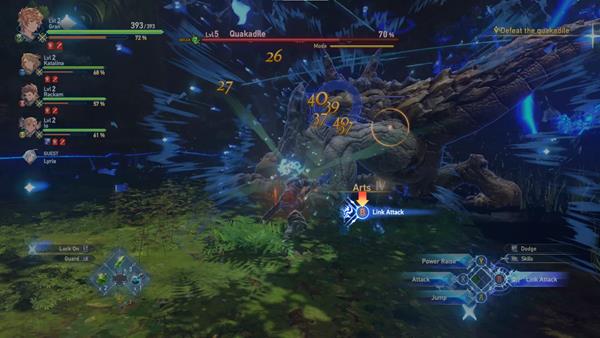
Now continue focusing your attacks on the Quakadile and follow the prompts on the screen and you'll eventually take down the boss. After defeating the boss, you'll receive the following rewards: Landbeast Claw x2, Fortitude Shard, Earth Shard, and Rafale Coin x2.
A short cutscene will trigger after defeating the Quakadile where Rosetta and Eugen land the finishing blow. A short dialogue will play out and the party comes to a conclusion to head to the nearest town.
Reaching Folca, Frontier Town
As soon as you take control of The Captain again, follow the quest marker and proceed ahead. Along the way, you'll encounter two loots ahead, you won't miss it. You'll obtain a Tempestone and a Whorlshroom from picking up the loot. Continue pressing forward until you reach the town, then a short cutscene will play out followed by a dialogue.
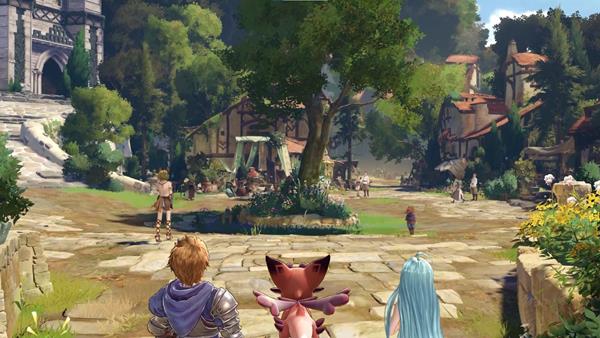
After the dialogue, turn around and grab the purple loot sticking on the wall near the entrance to the town, you'll obtain the Message from the Defense Corps added to your Archives.
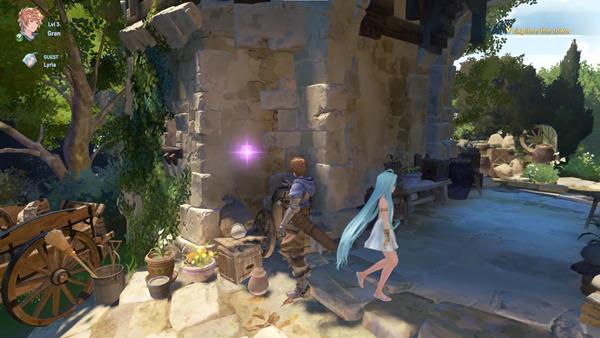
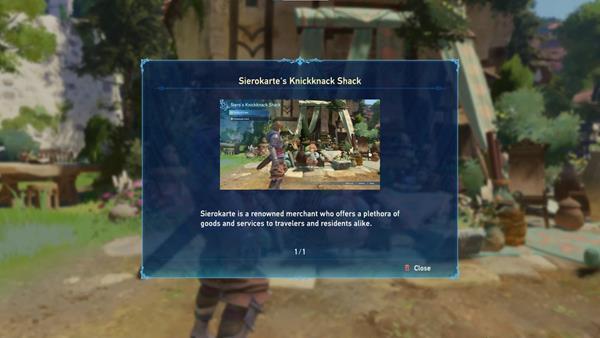
As you progress forward, you'll be interrupted by a short cutscene where you get reunited with Sierokarte. After the cutscene plays out, the game introduces you to Sierokarte's Knickknack Shop and tells you that Sierokarte is a renowned merchant who offers various goods and services and acts as a Merchant in this game. The game then guides you on how trading works. Simply follow the instructions prompted on your screen and trade your Rafale Coins to obtain Fortitude Shards. After trading with Sierokarte, she then informs you about a blacksmith nearby where you can obtain some weapons if needed.
You'll then be teleported to the blacksmith, then the game introduces you to the mechanics regarding Weapons. The blacksmith takes care of all things weapon-related like upgrades and Forging weapons. You can also sell some of your items here if needed. Follow the instructions presented on screen and use the Fortitude Shards you traded for earlier to upgrade The Captain's weapon.
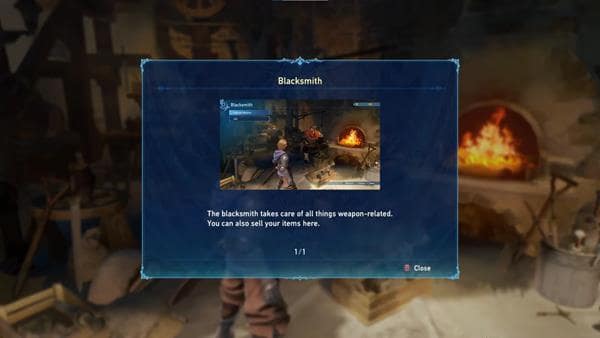
After enhancing The Captain's Traveller's Sword, the game shows you a short guide about navigating towns. You'll see at the top of your screen different icons, each representing where different useful facilities are located. You'll also notice a quest marker at the top indicating your next main objective for the main quests. You are also allowed to save your game at any time from the main menu while in town.
After speaking to the Blacksmith you can either explore the town to discover loot and open chests or talk to your crewmates to progress with the main story. To get started with some of the loot, take the path on your left and go near the pond, on the left side you can pick up the Fishing Tournament Flyer.
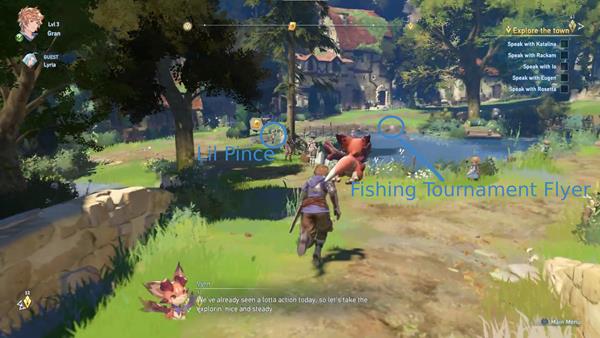
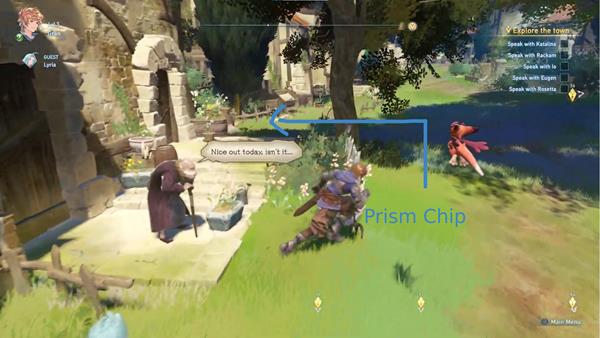
Now turn around and further right next to the old man with a cane, you'll find another loot, pick it up to obtain a Prism Chip.
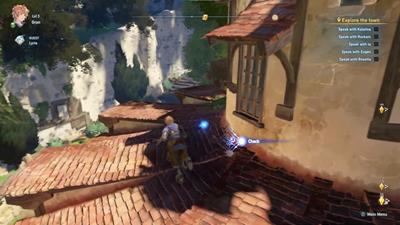
Continue through the narrow path ahead and pick up a Rafale Coin along the way. Continue up the steps until you reach a balcony. You can see most of the town from here. You'll also see a loot on the roof of the house on your left, picking it up will reward you with another Prism Chip. From the roof, go left, and at the balcony of that house is a Locked Chest. When you try to open it, the game will tell you that some chests require a special key to open them, for this case, it requires you to have a Gold Key.
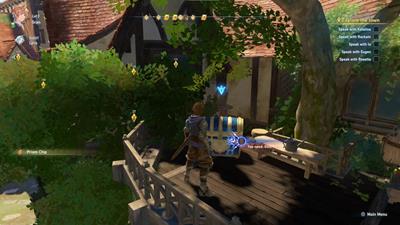
Drop down from the balcony and head up the stairs, turn right and continue following the path, you'll see a purple loot glowing from a distance on top of a bench. Pick it up to receive the Need a Handyman? document.
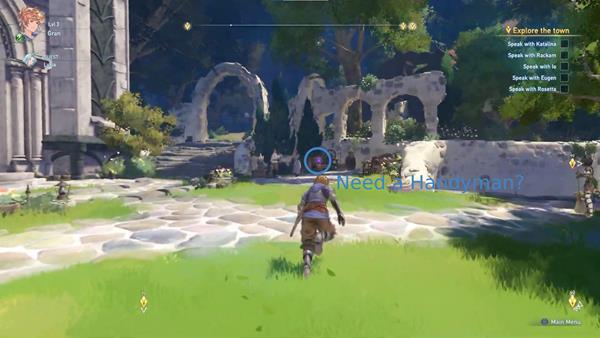
From the bench, go through the arch stones on your left, then immediately turn right, there's a chest near the waterwheel, open the chest to receive Fortitude Shard x2 and some rupies. There's another chest located just past the arch stones, on the left side of it, go through the bushes and a Locked Chest can be seen there, it requires a Whitewing Key to be opened.
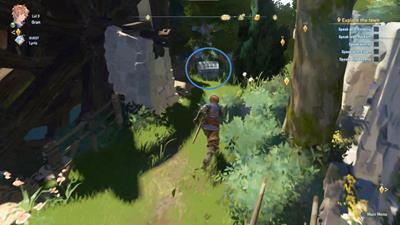
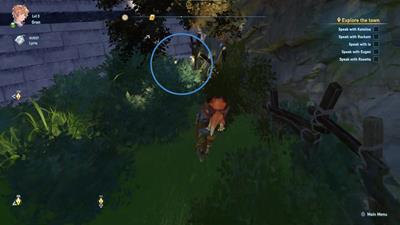
Now backtrack a bit and exit through the arch stones again, then go down the stairs on your left then take the path on your right and go through the arch, you'll spot a chest nearby, it contains Rafale Coin x2 and some rupies.
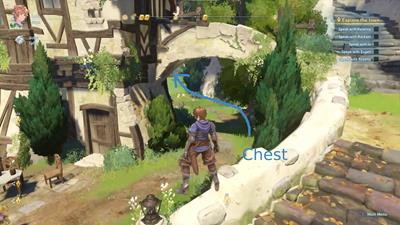
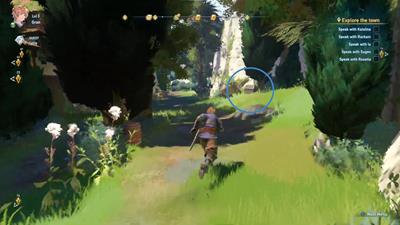
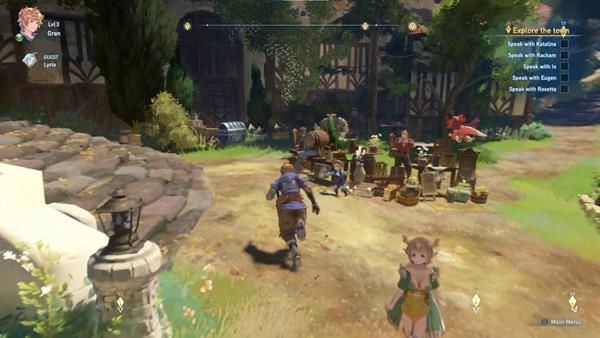
Continue following the path ahead and you'll end up where you started where you met Sierokarte. From here, you can take the path on your left and spot Io, and if you progress further down the street, you'll find another Locked Chest near a large wooden gate. It requires a Silver Key to open it.
Backtrack for a bit and to where you the Fishing Tournament Flyer near the pond, talk to the NPC near it named Lil Pince. If you accept his first quest called Save the Crustaceans, you can give him the Wee Pincer you just acquired to receive a Crabby Resonance Sigil as a reward. Lil Pince is a special NPC that collects Wee Pincers, he'd be happy to trade them with you for a reward. From here. You'll spot Rosetta nearby, there's a Locked Chest near her that requires a Silver Key to be unlocked.
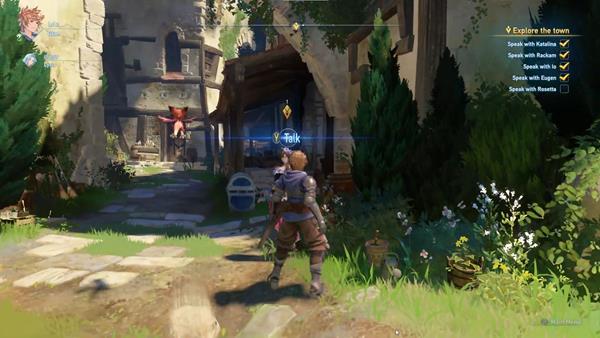
Once you've picked up all possible loot and explored the town, you can start talking to all of your party members to progress the quest. After talking to all of them, follow the quest marker and make your way to the church. Once you reach the area, press the corresponding button shown on the screen to wait for them, and a short dialogue will play out. Once the rest of your party members arrive, you'll be introduced to Rolan. But before he gets the chance to formally introduce himself, he is interrupted by a townsfolk asking for help about a tornado hitting their village out of nowhere. After hearing the news, Rolan rushes out of the scene before you can ask what's going on.
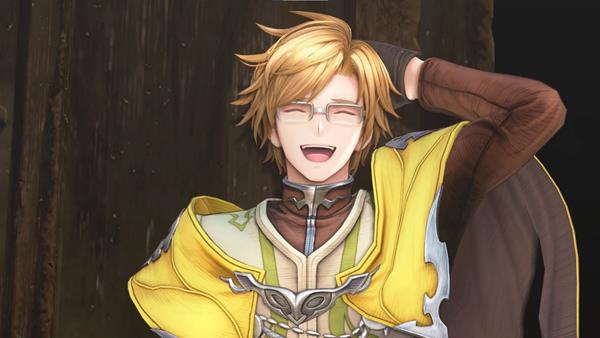
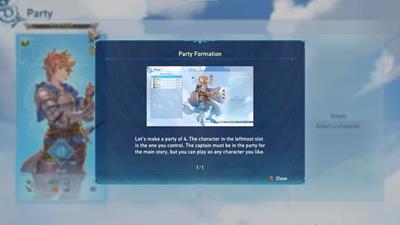
As you regain control of The Captain, follow the quest marker to chase after Rolan. Once you reach him, you'll get to hear someone explain the situation to Rolan. Your party then tries to convince Rolan to join him, he is reluctant at first but he is able to agree at the end. After your conversation with Rolan, the game will give you a chance to form your party and choose the Allies that will be accompanying you. You can select up to 4 characters to form a party, and the leftmost slot is the character you will control. For the Main Quests, The Captain must be in the party at all times, but you have the option to play any character you like.
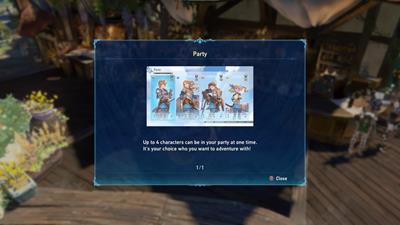
After forming your party, you'll then be directed to the Quest Counter, this is where you can clear other quests and raise your level to obtain resources for upgrading weapons and sigils. You will also earn Mastery Points (MSP) that can be used to unlock new skills and stats. The Fate Episodes will also be introduced here, this is where you can learn more about a character's backstory, and it's also a good way to gain extra stat boosts.
Once you're done assembling your team, head back to the dock and speak to Rolan. Once you interact with him, he will ask if everyone's ready before the ship departs. This will give you the chance to depart and take off to carry on with the main quest, or explore the town more and do side quests if you wish to do so. Once you choose to depart, you along with your Allies will go aboard the ship and take off — formally concluding this quest and officially beginning Chapter 2: Tempest on the Horizon.
Chapter 1: The Western Frontier Quest Notes and Tips
Notes, Tips, and Other Trivia for Chapter 1: The Western Frontier quest in Granblue Fantasy Relink go here.

