Chapter 6: In Search of Hope is a Main Quest in Granblue Fantasy Relink. This quest showcases the adventure that the Captain and his crew embark on, to retrieve the Catalyst which will be used to free Lyria. Main Quests in Granblue Fantasy Relink are primarily tied to the story or main campaign of the game which requires a player to complete it to progress story-related events, unlock more game features, discover new locations, and more. This page covers guides, quest objectives, and a complete walkthrough for the "Chapter 6: In Search of Hope" main quest in Granblue Fantasy Relink.
General Information
- Previous: Chapter 5: Shadows in the Snowscape
- Next: Chapter 7: Warning Signs
- Bosses: Rock Golem, Gerasene, Griffin, Maglielle, and Excavallion
- Location: Seedhollow and Dahli Relicbelt
Quest NPCs
- Zathba's Henchmen
- Verbose Man
- Sassy Lassie
- Bon Vivant
- Zathba
Quest Bosses
Quest Enemies
All Items & Rewards
Weapons
Sigils
- Sandtomb Resistance II
- Health II
- Burn Resistance II
- Stun Power II
- Quick Cooldown III
- Aegis II
- Tyranny III
Treasure
- Rafale Coin
- Fortitude Shard
- Fire Shard
- Red-hot Cactus
- Desert Ash
- Fornax Stone
- Earth Shard
- Fortitude Crystal (S)
- Wind Shard
- Glitterstone (L)
Key Items & Other
- n/a
Enemy Drops
Quest Rewards
Chapter 6: In Search of Hope Quest Information
Chapter 6: In Search of Hope Quest Description
This quest shows how the captain and the crew will retrieve the Catalyst in alliance with the Zathba Family to save Lyria.
Chapter 6: In Search of Hope Quest All Chests Locations
- From the starting point of Dahli Relicbelt, just head straight past the first Hallowed Ground and just before the the Arch with the Wee Pincer on top, you'll find a Wooden Chest in the middle of the desert.
- From the first chest we mentioned, look and head left. You'll see two walls of rocks almost colliding enough to make a tunnel. Go through that and you'll find a silver chest near a cliff containing Sandtomb Resistance II, Rupies, and 3 MSP.
- Head straight towards an arch, and you will find a Goblin Tanker guarding a wooden chest beside a pillar. This contains Fortitude Crystal (S), Rupies, and 1 MSP
- Upon entering the temple-like hall, you'll immediately see a wooden chest to the left containing an Earth Shard and 105 Rupies.
- A golden chest can be found on a platform when you jump on the broken walls, which contains Fortitude Crystal (S) and 875 Rupies.
- When you jump down from the platform of the golden chest that you opened, you'll find two blue orbs that contain Red-hot Cactus and one earth shard. You'll also find a wooden chest near the two, containing a Fortitude Crystal and a Rose Crystal Knife.
- Once the ground crumbles and a sliding sequence starts, make sure to stay on the upper path while sliding until you reach a platform the temporarily stops your sliding. You'll find a silver chest here containing Regen II, Rupies, and 3 MSP.
- A Silver Chest can be found on the right side of the stairwell you see after the sliding sequence. This silver chest contains Health II, Rupies, and 3 MSP
- From the entrance of Ruined City Valion, turn left onto the open desert until you see a single Wooden Chest. This chest contains a Rafale Coin, Rupies, and 1 MSP.
- Under the tall structures on the left, you'll see a smaller structure that can be walked on. follow it to its tallest point and the edge will have a golden chest containing Fortitude Crystal (M), Rupies, and 5 MSP.
- Right under the second tallest structure on the left side of Ruined City Vallion is a silver chest containing Fast Learner II, Rupies, and 3 MSP
- A wooden chest can be found just across from the chest under the 2nd wall structure. Run towards the cliff and you'll see the chest beside an Omen Stone. This will contain Glitterstone (S) and Rupies
- A wooden chest can be found past the tall structures on the left in the middle of the open desert. This will contain an Eart Shard, Rupies, and 1 MSP.
- A wooden chest can be found on the left side of the Fortified Sanctum hugging the rock walls on the left. This chest will contain a Prism Chip, Rupies, and 1 MSP
- At the Fortified Sanctum area, a silver chest can be found on top of a temple front on the left side of the area. This silver chest will contain Hea;the II, Rupies, and 3 MSP.
- Also in the left side of the Fortified Sanctum is a Golden chest containing Attack Power II, Rupies, and 5 MSP. This chest is on top of 2 Pillars attached together on the left side of the Fortified Sanctum near the seal that you need to lift guarded by the Gerasene boss.
- On the right side of the Fortified Sanctum is another Wooden Chest that is hugging the rock walls. This chest will contain Glitterstone (L), Rupies, and 3 MSP.
- On the upper right side of the Ruined City Vallion is a chest beside a waterfall. This chest will contain Fortified Crystal (S), Rupies, and 1 MSP.
- On the upper right side of the Ruined City Vallion is a waterfall with a small secret cave when you go through it, you'll find a silver chest containing Fortitude Crystal (S), Rupies, and 3 MSP inside.
- On the upper right side of the Ruined City Vallion is a waterfall with a small secret cave when you go through it, you'll find a Golden Chest containing Aegis II, Rupies, and 5 MSP.
- From the 2 chests that you find in the waterfall, turn left and just keep hugging the rock wall until you reach a wooden chest containing a Prism Chip, Rupies, and 1 MSP.
- A silver chest can be found on the right side of Ruined City Vallion just beside the seal here that you need to lift that's guarded by a Griffin boss. This chest contains a Fortitude Crystal (S) and Rupies.
- A wooden chest containing Rupies can be found just in front of the seal guarded by a Griffin once you go down the short stairwell. Another Wooden chest can be found just across it containing a Prism Chip and Rupies.
- A wooden chest can be found on the left side of the area where you lift the seal on the central ruins.
- On the uppermost left side of the area is one of the waypoints that you need to go to lift the seal of the central ruins. Near that area are collapsed structures that can be climbed, and on the top of them, you'll find a golden chest containing a Fortitude Crystal and 864 Rupies.
CHESTS IN SEEDHOLLOW
-
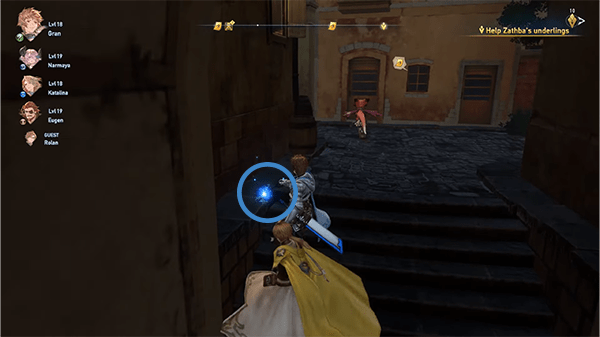
Head farther up the stairs and enter the Central Plaza of Seedhollow. Turn right, and just past the Blacksmith area, you'll find a small alley next to a set of staircases containing a silver chest.
-
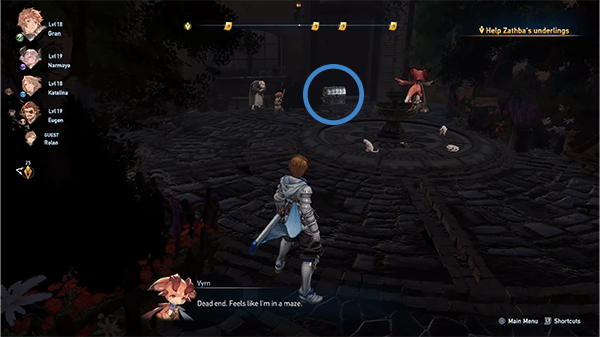
Turn left again, and you'll find yourself in a circular area that has cats and a silver chest that gives you a Prism Chip and 105 rupies.
-
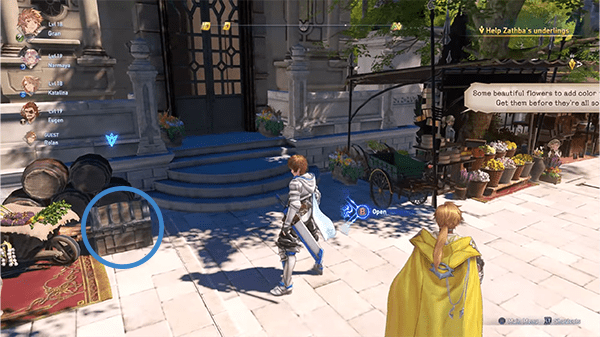
After retrieving the crewmate card, you'll find a wooden chest slightly to the left, hidden among other things.
Chapter 6: In Search of Hope Quest All Shrouded Treasure Locations
-
You can also find a Shrouded Treasure near the collected chests, rewarding you with a Quick Cooldown III Sigil and 2010 Rupies.
-
The next Shrouded Treasure can be found near the waypoint where you need to lift the seal.
-
Proceed toward the waypoint where you need to lift the seal, and as you approach, you'll discover a shrouded treasure behind a block, dropping 2070 Rupies and a Tyranny III Sigil.
Chapter 6: In Search of Hope Quest All Omen Stone Locations
- An Omen Stone can be found to the left side of the Ruined City Vallion past the tall broken-down structures on top of a mini cliff or rock cliff. It is beside a slime enemy that you can engage.
- An Omen Stone can be located behind the seal that needs to be lifted guarded by the Griffin
Chapter 6: In Search of Hope Quest All Wee Pincer Locations
- From the starting point of Chapter 6, just go to your right and you can find the first Wee Pincer hiding at the stump of a knocked-over tree.
- Near the starting point of chapter 6, before turning right towards the 2 Goblin Stormers inside a cave, head straight where you'll encounter Sand Wolves until you see an archway that you can climb by the side. The top of that archway is where you will find the second Wee Pincer.
- Once you're inside the ruins, there's going to be some Stones you can jump up on to the left-hand side. Between the blue orb and a Golden chest, you'll find a Wee Pincer just before the ground shakes, triggering a long slide that leads to the gate of the Central Ruins.
- From the entrance gate of Ruined City Vallion, it's going to be on the first broken Stone building that you find in the desert. Go down the stairs and slightly move to the left where you will see a small arch-shaped building that you can climb and find the fourth Wee Pincer.
- Now, looking towards the center of the map, go left from here and the fifth Wee Pincer is on a rock as you approach the Western Keystone that has The Rock Golem boss. One of the key things to look out for to find this Wee Pincer is the very tall broken-down structures on the left when you enter Ruined City Vallion. The rock that we mentioned earlier is just in front of those structures.
- From the starting point of Ruined City Vallion, make your way straight towards the other side of the area. The other side has a very tall structure with a circular architectural design on top. This area is called the Fortified Sanctum. Just keep heading straight and once you get past the central ruins, stop for a moment and head upper right. While slowly moving forward, keep an eye out for a broken-down structure that looks like a roof with two pillars that are cut in a slanting way. When you see that structure, you'll see a different broken pillar in front of it. the sixth Wee Pincer should be on the top of that broken pillar. The area is near the eastern keystone.
- The seventh Wee Pincer is over by the northern Keystone. What you can do is, once you're in front of the Northern Keystone, go left and just hug the far wall. The seventh Wee pincer should be tucked in a hole between the walls that you are hugging.
- At Ruined City Vallion, head to the left side of the Central Ruins (The large circular platform in the middle of the area), just opposite of the Hallowed Ground in Ruined City Vallion. Once you're on the left side, you'll notice a lot of broken-down structures in this part. Look for the 4 pillars that form a rectangular-shaped structure that does not look destroyed and you'll see a broken wall behind those pillars. The eighth Wee Pincer is just behind those walls under the rubble.
- The last Wee Pincer can be found on the right side of Ruined City Vallion on the second level of a cliff near the Griffin Boss. Head to the tallest part of the cliff then look down from it to the right, and you'll see the second level where you can drop down on and retrieve the last Wee Pincer.
Chapter 6: In Search of Hope Quest All Slimes
- Near the starting point, before turning right towards the 2 Goblin Stormers inside a cave, head straight near an arch structure and there, you can find a slime to engage.
- At the Ruined City Vallion, turn left from the gate entrance and head towards the tall broken-down structures. Upon approaching the structures, you can find a slime by the rubbles on the ground.
- A slime can be found to the left side of the Ruined City Vallion past the tall broken-down structures on top of a mini cliff or rock cliff. It is beside an Omen Stone.
- At Ruined City Vallion, a slime can be found on the right side of Ruined City Vallion below a mini canyon near one of the speed boosters.
Chapter 6: In Search of Hope Quest All Archives
- You can find an archive entitled Outlaws Monthly just below Zathba on his ship by the stairs.
- Just after you slide down toward the City Ruins gate, you can find an archive entitled Faded Stone Plaque to the right of the gate.
Chapter 6: In Search of Hope Quest Objectives
- Head to the Family Zathba's base
- Help Zathba's underlings
- Gather intel on the dangerous "something"
- Speak with the verbose man
- Speak with the sassy lassie
- Speak with the bon vivant
- Head to the Alley
- Help Zathba's Underlings
- Eavesdrop on the pair of soldiers
- Eavesdrop on the trio of soldiers
- Eavesdrop on the gatekeeper
- Report your findings
- head to the bar.
- Get ready and head to the dock
- Speak with Zathba
- Search for the Catalyst Stone
- Lift the seal on the central ruins.
- Inspect the chest in the Central Ruins
- Defeat the Sword Veil Fellowship
- Defeat Maglielle
- Defeat Excavallion
GBF Relink Full Chapter 6: In Search of Hope Walkthrough
At Seedhollow
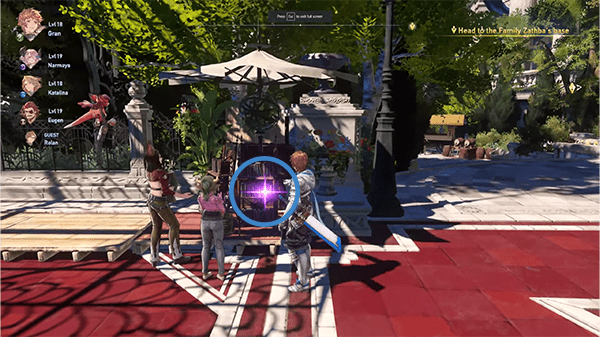
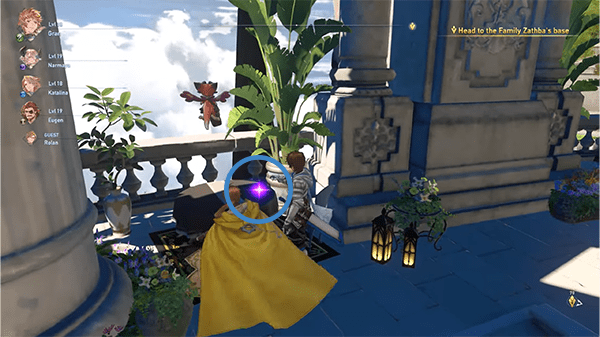
Upon arriving at Seedhollow, Port Camellia, to the left on a bookstall, you'll discover a purple orb that provides a new entry for the archives named 'White Paper on Public Transport.' Additionally, you can find another purple orb to the left in the hallway after climbing the first set of stairs on a table, named "Fashion Magazine Clipping."
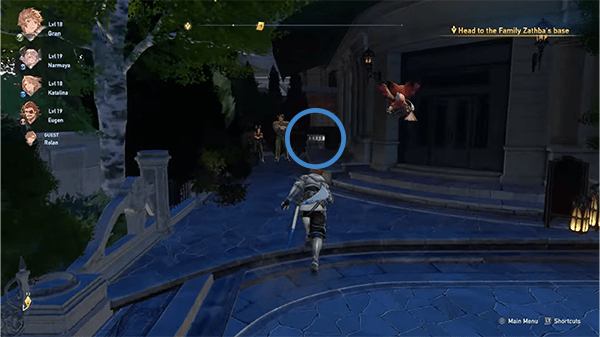
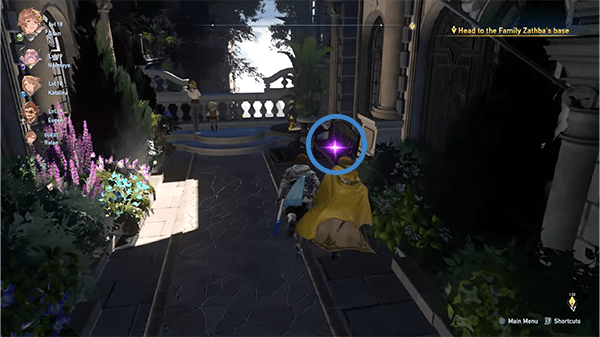
Afterward, proceed farther up the stairs and enter the Central Plaza of Seedhollow. Turn right, and just past the Blacksmith area, you'll find a small alley next to a set of staircases containing a silver chest. Also, right near the chest, exit the alley and turn left to discover a purple orb that contains the Cat Watcher's Digest.
Now, after collecting the chests and orbs, make your way to the waypoint, which is Zathba's base. A cutscene will unfold between two individuals complaining about too much work, and Rolan will inquire if they work for Zathba. Zathba's henchmen will be surprised to see Rolan and express gratitude, thanking him for looking out for their boss. Rolan will counter that it's the opposite since Zathba was the one who gave him intel on Avia. Afterward, Zathba's henchmen will mention that the family is fully booked at the moment and will ask Rolan to come back later if he wants to speak with Zathba. Rolan will then clarify that if the workload lessens, Zathba will have a free schedule. The henchmen will agree, and Rolan will ask Gran to lend them a hand.
The henchmen will then request Gran to check on a buddy of theirs in the market. Before heading over to the market, go up the stairs from your current location and turn right. You'll immediately see a Blue Orb that gives you a Rafale Coin. Turn left again, and you'll find yourself in a circular area that has cats and a silver chest that provides you with a Prism Chip and 105 rupees. Upon exiting the hideout area of Zathba, turn left and head straight down towards the Market, but look to your left from time to time so you can spot a wooden chest containing an Earth Shard and 77 rupees.
Now, head over to the market inside the Blacksmith's store, and you'll encounter another one of Zathba's henchmen. He'll mention that something was lost, and he needs help recovering it. He left the details with an alliance representative, so head to the alliance rep for the details. Just follow the waypoint and speak with the second alliance representative. The alliance rep will write down the description of the people you can speak with about the dangerous item.
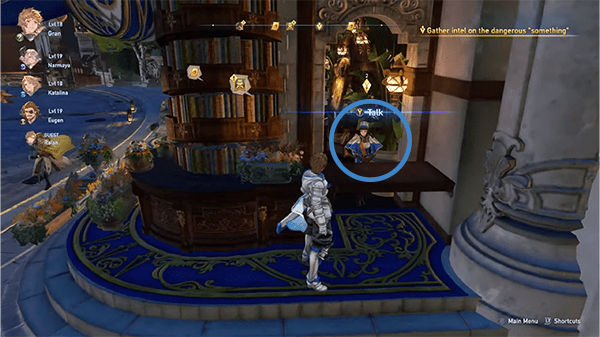
First, speak with the sassy lassie who is just to the left of the Alliance stall near the stairs of the port. She'll clarify that Zathba's people have you looking for a dangerous thing. She'll tell you to check in places with shade and to be careful in case something jumps at you. Now, follow the next nearest waypoint and speak with Bon Vivant. He'll say, "Raise your eyes to the blue! That which you seek may come from above." This probably means that it may come from above; even Io is confused by what Bon Vivant said. Lastly, follow the waypoint to the Verbose Man. He'll tell you that you can find it in an alley.
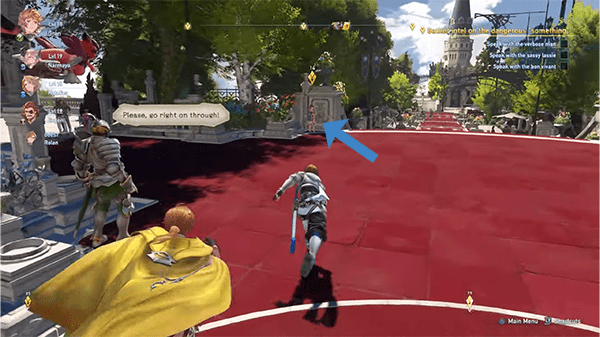
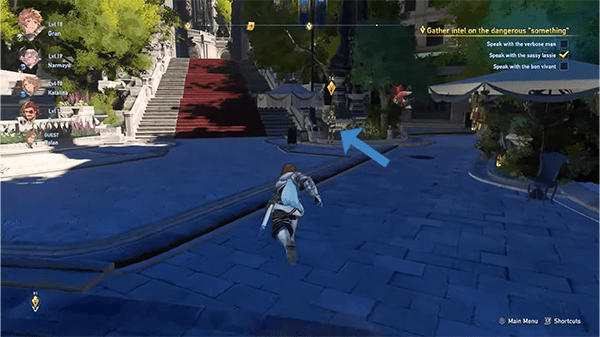
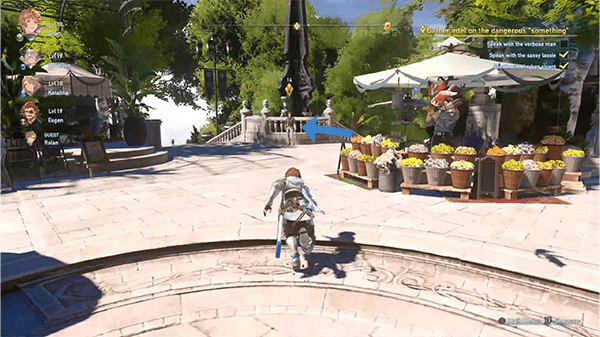
Now, since you have collected all the available information, make your way to the alley. You'll spot a cat on top of a wall in the shade, which is probably the dangerous thing that people were talking about. You'll automatically be teleported back to the location of the small Zathba Henchman, and he will be relieved that it is over, and the owner of the cat is also relieved. Vyrn will question why he is afraid of cats, and the henchman will share that he was scratched by one when he was a kid.
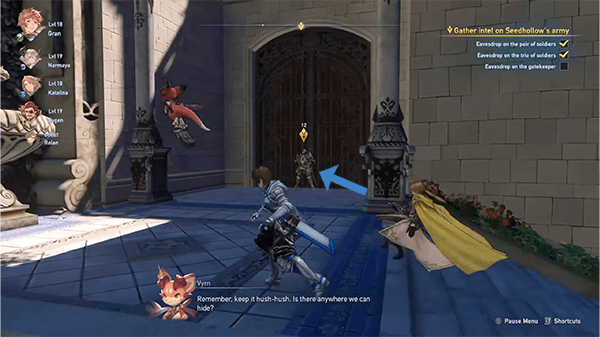
Afterward, head to the next Zathba Henchman, and he will ask you to eavesdrop on some castle guards to know the status of manpower they have. The waypoint indicated in the area will automatically be a hiding spot for Gran to eavesdrop on the guards, so follow the nearest one, which is the trio of soldiers, and listen in. You'll find out from the trio that the reason why the Corridor of Peace is named that is to honor an Astral who once saved the Skydwellers. It's not relevant information, so make your way to the pair. You'll find out that the threat level for Skydom has been raised. If reinforcements keep being sent to Tempeal and other islands, the castle defenses will run thin. You'll also find out that the Church of Avia has been popping up everywhere. You'll conclude that the people of Seedhollow might get edgy if the information about castle defenses running thin leaks. Lastly, head to the gatekeeper. You'll find the gatekeeper talking to himself about something he saw. A Harvin was wearing white robes that matched an intel report. That uniform is doled out to one of the deadliest groups in Avia. Obviously, the Silver Wolf Corps is also nothing to sneeze at, but this group uses strange techniques. The gatekeeper will regret not arresting the Harvin and will worry if they have infiltrated the city already. You'll conclude that Avia might have infiltrated Seedhollow already.
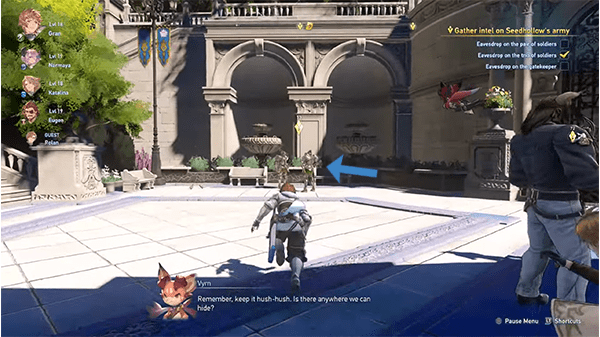
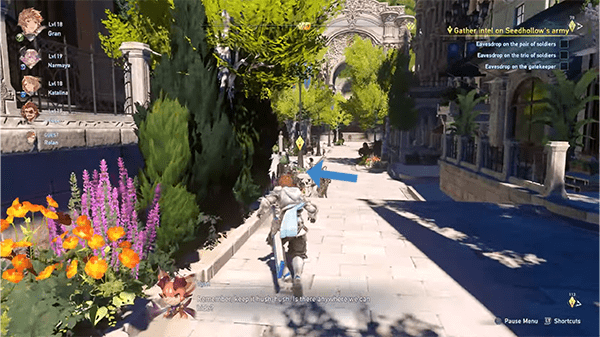
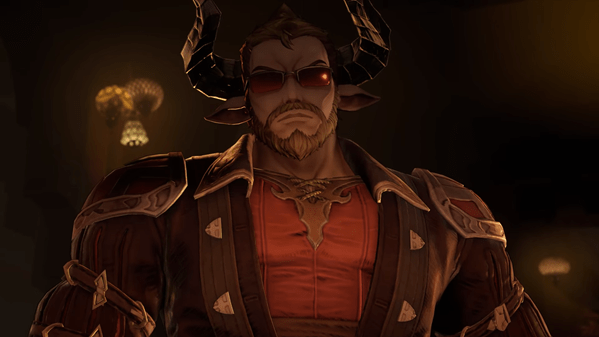
Upon completing those objectives, head back to the Zathba Henchman and report your findings. He'll conclude that they might have to offer resources to bolster the castle's defenses. The Henchman will then tell you that Zathba might be free now, so head to the bar where you first tried to meet Zathba. A cutscene will play out, showing Rolan entering the bar and meeting a huge fellow who seems to be Zathba. Rolan will then try to ask Zathba for help but will immediately be cut off by Zathba stating that they aren't a charity and selling information is how they don't starve. He'll then begin to say that the juicier the intel is, the higher the price. He will then ask Gran if he gets what Zathba means. Zathba will then assume that Gran and his crew can't afford the info, so he will propose something else. Zathba will mention not to pass on a deal without knowing the full details. He will then begin to say that they have already looked into the mind sealer around your friend's neck. He'll mention as well that the catalyst stone that'll cancel the magic sleeps in some ruins on Dahli Island. Katalina will be surprised and will ask if Zathba is certain. Eugen will then assume that Zathba gave the info since he will ask for something in return. Zathba will be impressed by Eugen's attitude on cutting to the chase and will proceed to say that they only have to break the seal on the ruins. Zathba seeks the treasures within.
After the conversation with Zathba, get ready and head to the dock. When you get near the port, Sierokarte will call you out and give you a crewmate card as a thank you from Zathba. After retrieving the crewmate card, you'll find a wooden chest slightly to the left, hidden within other things.
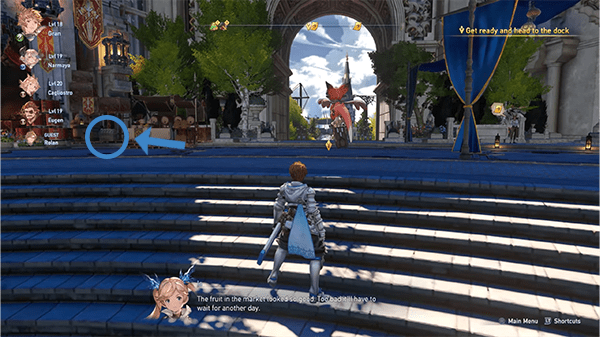
Now, head over to Zathba by the port and agree to go on the mission. Before you head out, Rolan will suddenly say that he will look for the red ship and that he will not join your voyage. He will ask Zathba to take care of you and the others and will also hand him a Transceiver.
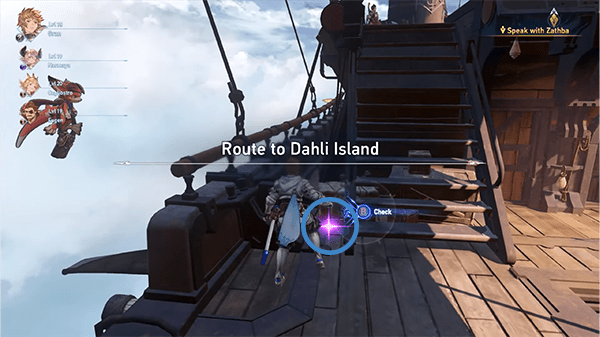
Route to Dahli Island
Afterward, you will be teleported onto the Zathba Ship. You will find a purple orb just beside you that contains 'Outlaws Monthly.' Additionally, you can retrieve two blue orbs at each end of the ship, each containing a Rafale Coin and a Fortitude Shard.
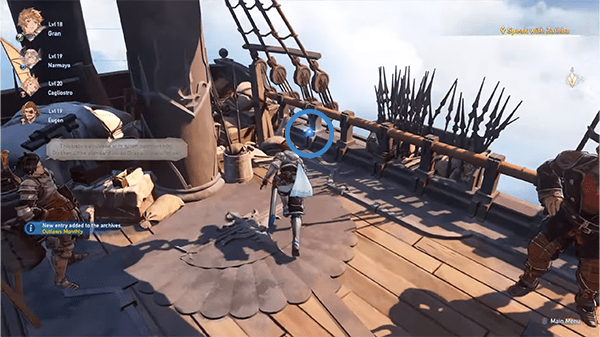
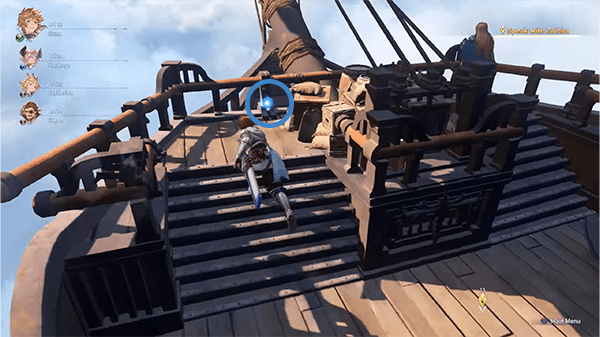
Now, speak with Zathba and proceed to your next objective. A cutscene will play out, showing Lilith speaking about the stars awaiting and emphasizing that you shouldn't keep them waiting.
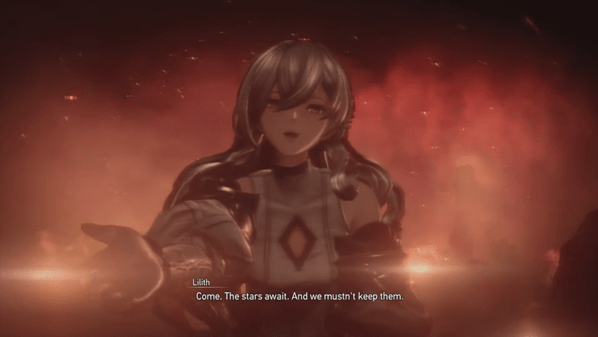
The cutscene will then shift to Id waking up from a dream next to Lyria. Lyria will ask if he is alright, and Id will mention that he is okay. He will then ask if Lyria is okay too. Lyria will question why he would ask that of her. Then suddenly, Lyria will mention that she found another God.
Dahli Island
The scene switches to Gran and his crewmates arriving at Dahli Island. When you have control over Gran, immediately look back and retrieve a blue orb containing an Earth Shard. To the left is another Blue orb containing Desert Ash.
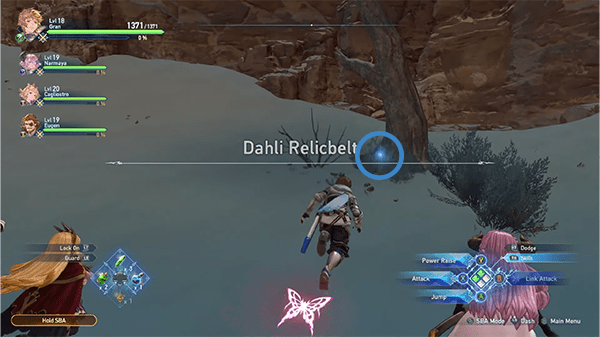
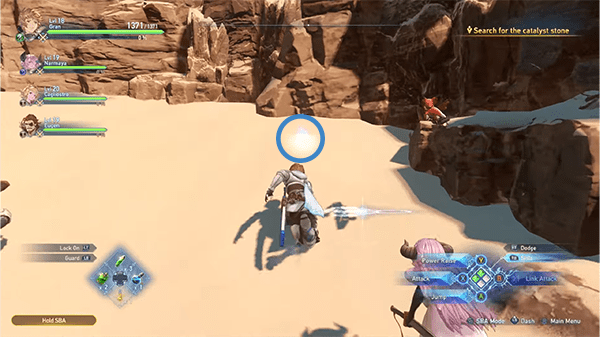
Upon moving up the desert, you'll find 2 blue orbs containing a Fire Shard and Red-hot Cactus. Along with a Hallowed Ground for you to replenish items or save progress.
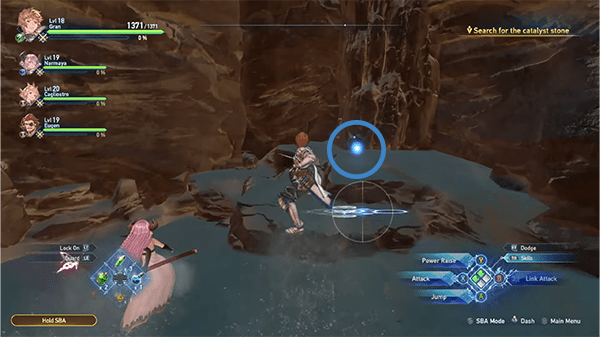
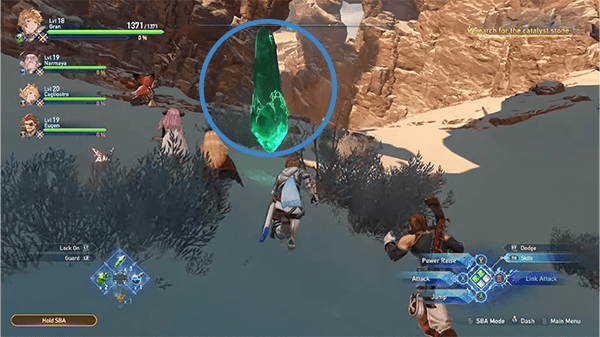
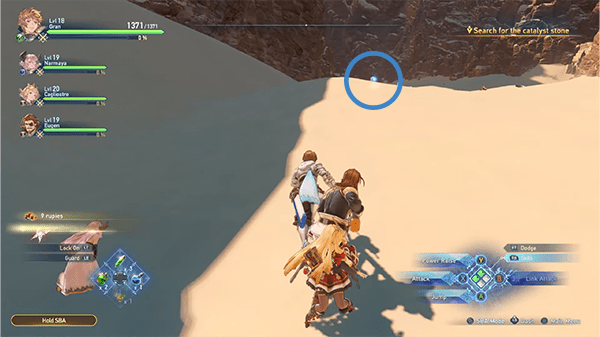
Move up the rocks near your current position, and you'll find 2 Goblin Stormers resting. Defeat them and collect the blue orb near them that contains Desert Ash.
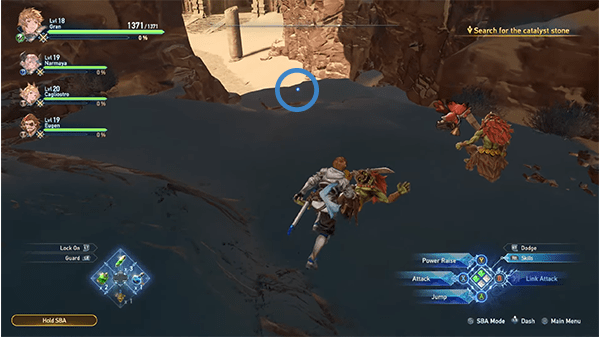
Afterward, head up more, and you'll find your way into the ruins to your right. Before you enter, head straight towards an arch, and you will find a Goblin Tanker guarding a wooden chest and 3 blue orbs containing 2 Desert Ash and a Fornax Stone.
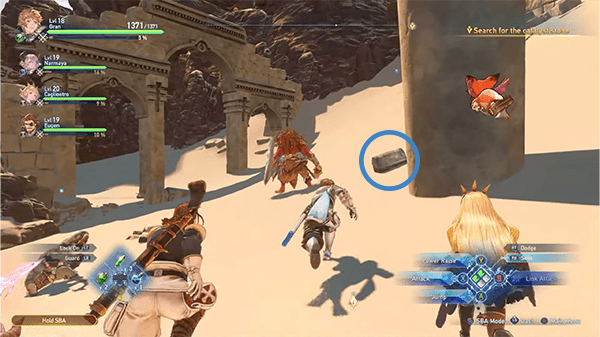
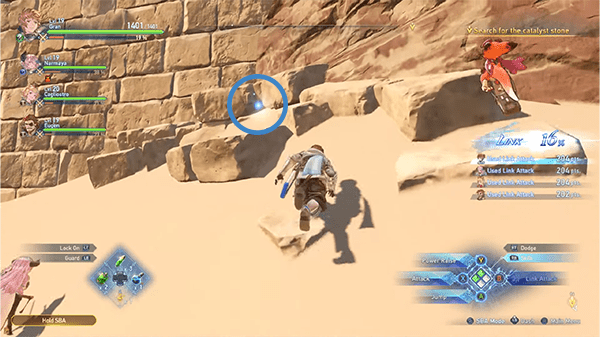
Head further into the path until you reach a cliff with a wooden chest and an orb containing an Earth Shard, 214 Rupies, and a Sandtomb Resistance II Sigil.
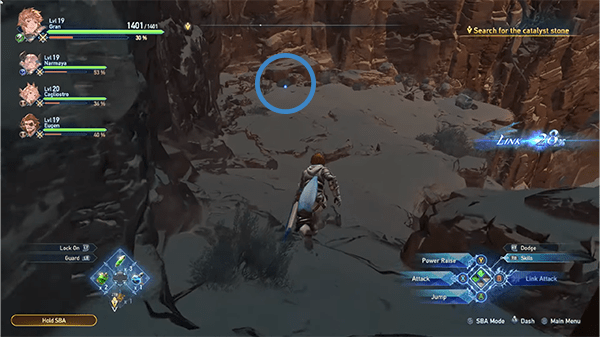
Head back to the entrance of the ruins, but be prepared to be ambushed by Sand Wolves and make your way inside. Upon entering the ruins, you'll immediately see a wooden chest to the left containing an Earth Shard and 105 Rupies.
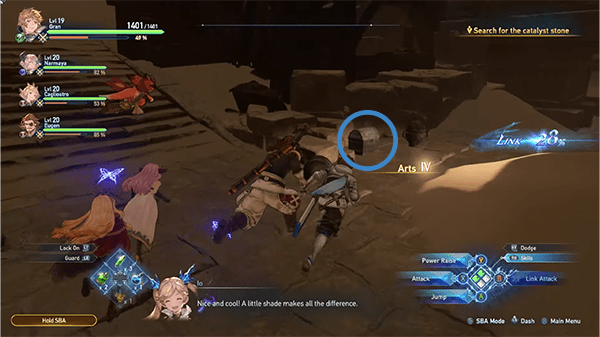
You can also get another blue orb when you move to the left by some broken-down walls and a golden chest when you jump on the broken walls, which contains a Fortitude Crystal (S) and 875 Rupies. There is also a Wee Pincer located just between the orb and the Golden chest
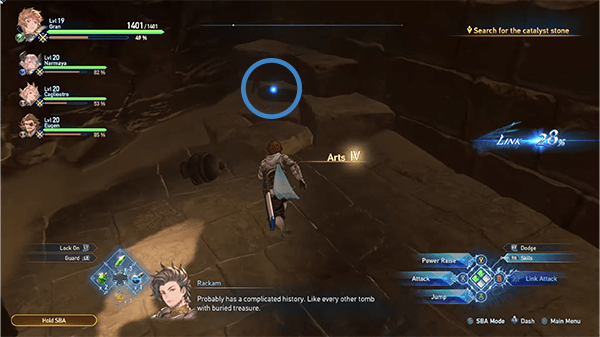
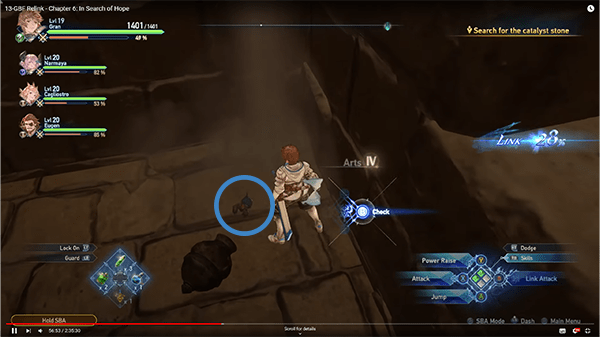
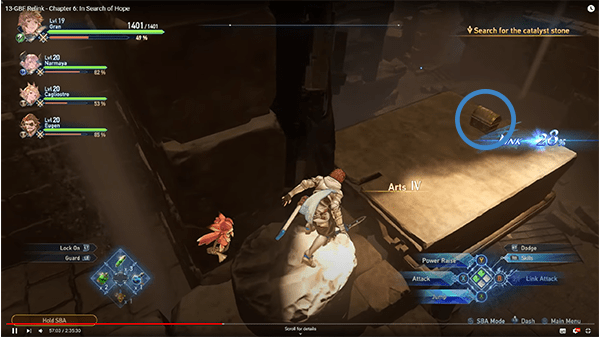
Lastly, when you jump down from the platform of the golden chest that you opened, you'll find two blue orbs that contain Red-hot Cactus and one Earth Shard. You'll also find a wooden chest near the two containing a Fortitude Crystal and a Rose Crystal Knife.
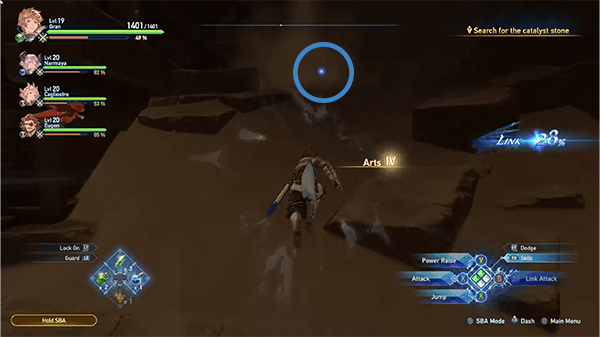
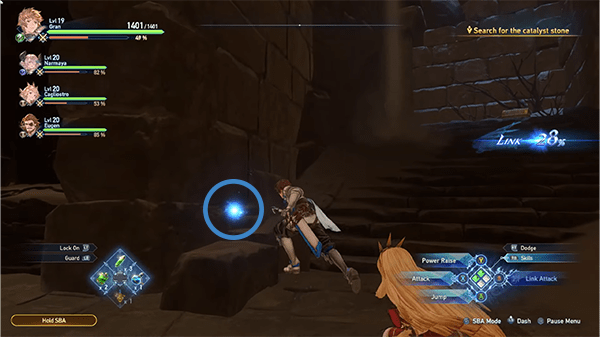
Afterward, move up the path, and you'll suddenly feel the ground shaking, and before you know it, the ground has already collapsed, and you'll be sliding down. There will be a few Blue Orbs that you can retrieve while sliding, so make sure to stay aware of where you're sliding. Once you reach the ground, you'll find a staircase just up front. You can retrieve another Blue Orb on the left side that gives you a wind shard. On the right side is a silver chest that will contain a Fire Shard, Health II Sigil, and 223 Rupies. After looting the chest, head up the stairs and stand on the circular platform to activate the ruins.
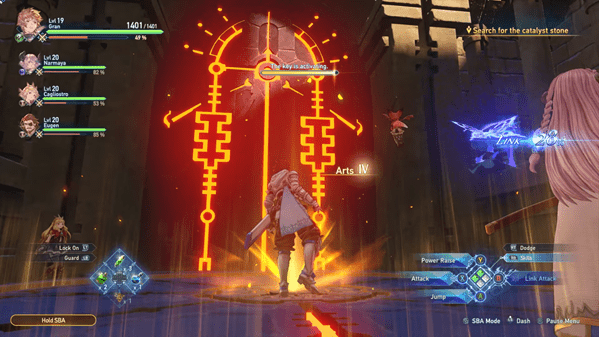
Once the doors open, you'll finally see the big platform that you need to open. Beneath it will be the contraption that Gran's crew is looking for.
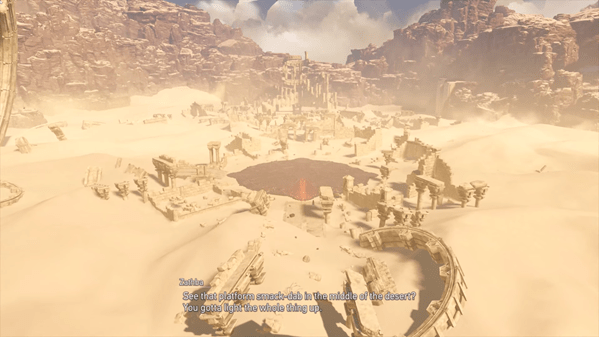
When you're free to move, go down the stairs and make your way towards the platform. You'll find a purple orb to your right. To the leftmost part of the area is a blue orb as well. Use the Green Peculiar wind magic that's circular to make your travels faster. You'll also find an easy-to-find chest in this part. Do take note that there will be sand wolves all around the area, so be prepared for some battle. On the uppermost left side of the area is one of the waypoints that you need to go to lift the seal of the central ruins. Near that area are collapsed structures that can be climbed, and on the top of them, you'll find a golden chest containing a Fortitude Crystal and 864 Rupies.
Boss Fight: Rock Golem
Proceed to the waypoint and stand on the small platform to activate the key. This will take a bit of time to complete, and while waiting, a boss fight will commence between you and a Rock Golem. For this boss, it's important to utilize your agility since the Rock Golem moves slowly. While attacking, make sure to stay within the platform to further progress by activating the key. Once you defeat the Golem, it will drop Golem Finger, x3 Fortitude Crystal, and a Burn Resistance II Sigil.
Activating another part of the Platform
Next, start activating the key again, and once you finish, you'll see half of the central ruins platform has lightened up. You will automatically be teleported back to the entrance of the area, and from here on, make your way towards the upper left of the area to lift the seal of the central ruins once again. But first, head towards the central ruin platform and collect the wooden chests around the area. The chests in this area contain most of the same items from the previous chests except for one that contains a sigil named Stun Power II.
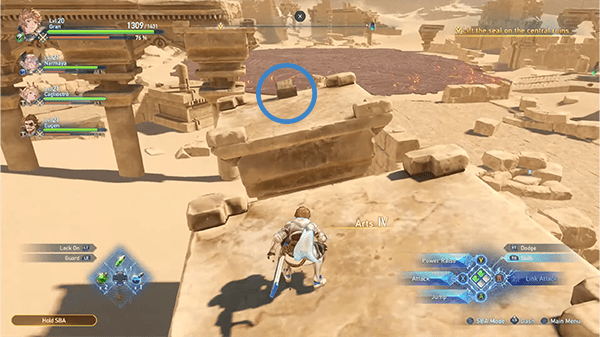
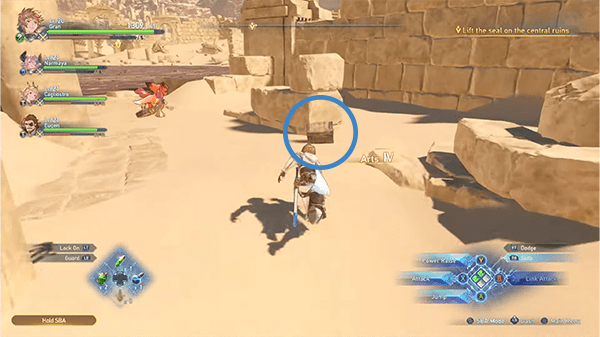
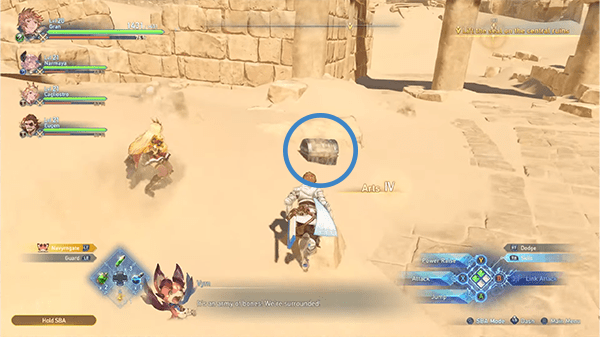
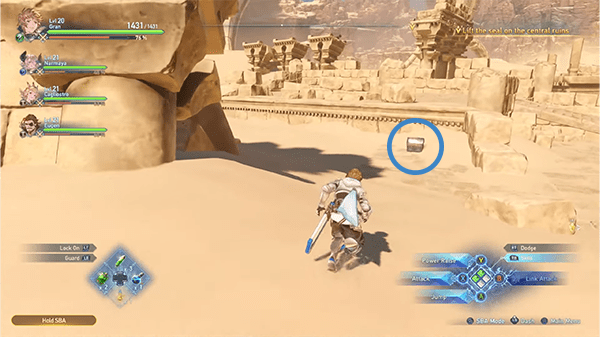
Also, make sure to save progress at the Hallowed Ground near the platform.
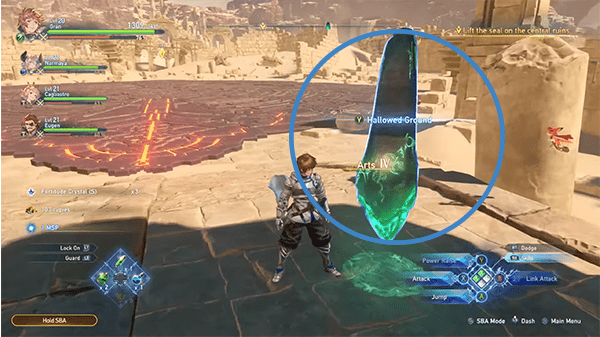
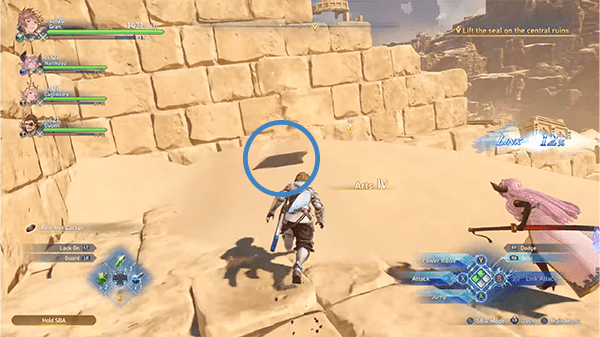
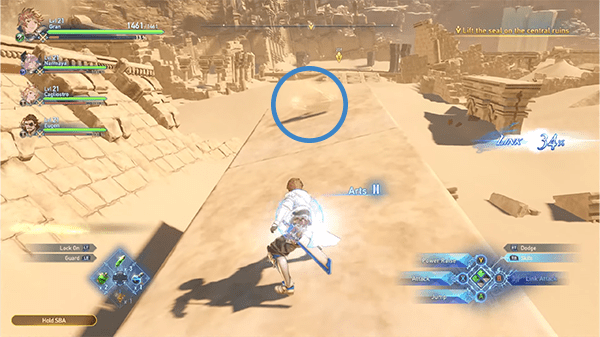
You can also find a Shrouded Treasure near the chests that you have collected. This will reward you with a Quick Cooldown III Sigil and 2010 Rupies. The next Shrouded Treasure can also be found near the waypoint where you need to lift the seal.
Boss: Gerasene
Afterward, you can proceed towards the waypoint and begin activating the key for the Central Ruins. Another boss, Gerasene, will appear. Gerasene is a large skeleton with slightly slow mobility. You can use your speed against this foe as well. Upon defeating Gerasene, it will drop a Purgatory Bone, Dark Shard, and Fortitude Crystal. Once Gerasene is defeated, proceed to the center of the seal and wait for the key to activate.
Activating the last part of the Platform
After activating the key, only a partial part of the Central Ruins will be activated. This means there is another seal that needs to be lifted. Head to the waypoint on the right side of the area. First, go to the upper-right area to collect a silver chest containing Glitterstone (L). You can also find two chests, one golden and one silver, hidden behind a waterfall that contains Aegis II Sigil.
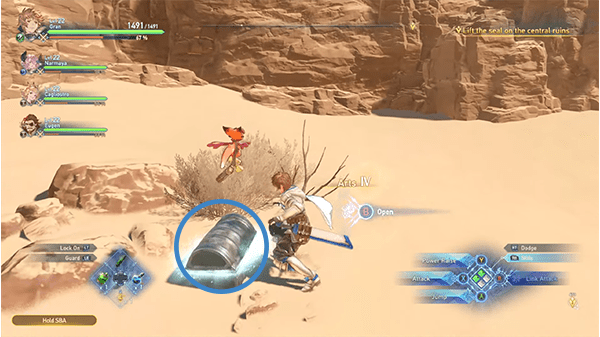
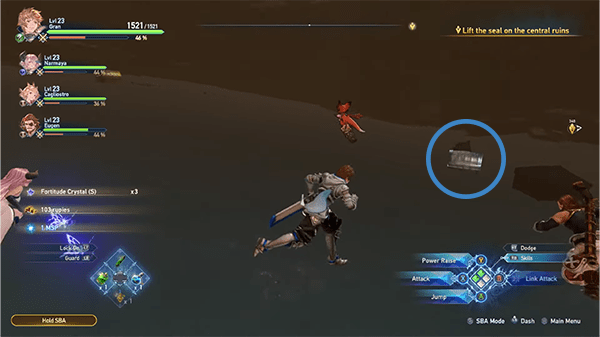
Proceed toward the waypoint where you need to lift the seal. As you approach, you'll discover a shrouded treasure behind a block, dropping 2070 Rupies and Tyranny III Sigil.
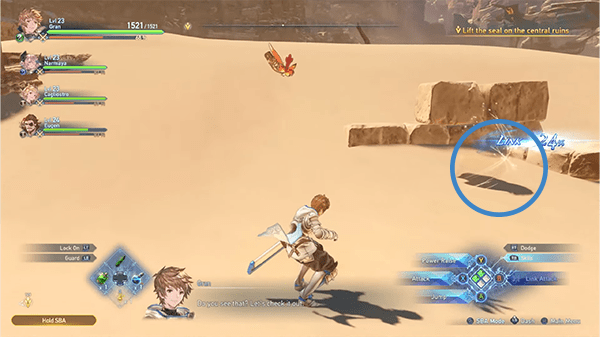
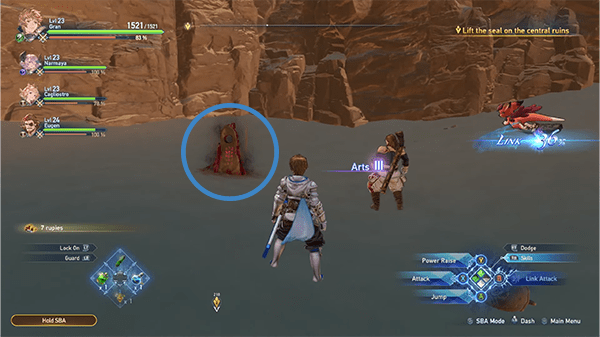
Finally, locate an Omen Stone just behind the seal you need to lift. Complete the Omen Stone challenge, then proceed to the waypoint where you will encounter the Griffin Boss.
Boss: Griffin
The Griffin Boss is a large bird that predominantly stays in the air. Make use of your ranged attacks here and launch an all-out assault whenever the Griffin is knocked down. Once defeated, the Griffin will drop a Griffin Feather, Wind Shard, Fortitude Crystal, and a Glittercrystal. After defeating the Griffin Boss, proceed with activating the key.
Retrieving the Chest in Central Ruins
After activating the key and lifting the seal to the central ruins, a cutscene will play out, showcasing the chest that appears in the middle of the platform. Zathba will instruct you to retrieve it, and you'll also need to check if the Catalyst is there. Once you regain control, head over to the waypoint in the center of the Central Ruins. Don't forget to replenish items and save your game at the Hallowed Ground.
Now, a cutscene will play out when you approach the chest. This scene showcases the Avia arriving, with their general stating that they cannot allow Gran and his crew to retrieve the chest and the Catalyst. The masked leader will then unmask herself and introduce herself as Maglielle. She will summon her allies and commence an attack against your crew.
First, clear out the enemies, and afterward, a boss battle will commence.
Boss: Maglielle
Maglielle will most of the time be protected by multiple swords and a barrier. Although she still takes damage from attacks, these will only cause minimal harm due to her barrier. Using ranged attacks would be a good strategy to battle her. Once her health reaches zero, a cutscene will immediately show her lying on the ground. The chest will then lower down from above, and Vyrn will collect the Catalyst from it. Just as the crew members are celebrating their success, Maglielle regains consciousness and summons her swords towards Gran. Rosetta will block the attack with her powers, and the other Sword Veil Fellowship members will throw their swords at the chest, causing it to explode. The other members will then grab Maglielle and retreat.
The cutscene will then show the ground rumbling, and Rolan will warn them to get out but will then be cut off. The Central Ruins will start floating, so Gran and the others will make a jump. As they observe what is happening, they are shocked to see that the Central Ruins platform has turned into a colossal-sized being, signaling another boss fight. The colossal-sized being will then aim at Zathba's ship but will be intercepted by Rolan's ship. The Colossal being is named Excavallion.
Boss: Excavallion
Excavallion is a colossal boss that moves very slowly, but its sheer size makes it challenging to dodge its attacks. Rolan and Zabtha will provide air support for you during this boss battle. To cause damage, you'll need to destroy the talus Reactors located on each of its feet. Eventually, Excavallion will summon an attack on Zabtha's ship that will hit, causing the ship to take damage but not go down. The ship will then launch a cannon down to the ground, which Gran can use as a weapon against Excavallion.
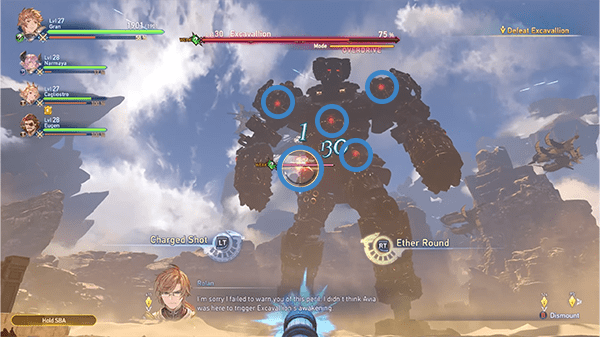
At 50% damage, Excavallion will be knocked down to its knees, exposing its weak spot on its back. Despite attempts to fire on its back, Excavallion will protect itself using a Sand Barrier. Gran and his crew won't have a choice but to run toward its back. Once Excavallion is defeated, this will mark the end of this quest.
Chapter 6: In Search of Hope Quest Notes and Tips
Notes, Tips, and Other Trivia for the Chapter 6: In Search of Hope quest in Granblue Fantasy Relink go here.
