Chapter 7: Warning Signs is a Main Quest in Granblue Fantasy Relink. Players are tasked to free Lyria from Vulkan Bolla, the primal beast of dread. Unexpectedly, Id calls out for a temporary alliance to save Lyria from the primal beast. Main Quests in Granblue Fantasy Relink are primarily tied to the story or main campaign of the game which requires a player to complete it to progress story-related events, unlock more game features, discover new locations, and more. This page covers guides, quest objectives, and a complete walkthrough for the "Chapter 7: Warning Signs" main quest in Granblue Fantasy Relink.
General Information
- Previous: Chapter 6: In Search of Hope
- Next: Chapter 8: Relink
- Bosses: Vulkan Bolla, Lilith
- Location: The Phondam Isles, Frightflame Altar
Quest NPCs
Quest Bosses
Quest Enemies
All Items & Rewards
Weapons
Sigils
Treasure
- Magma Worm
- Fortitude Crystal (S)
- Fire Shard
- Champion Merit
- Salamander Egg
- Prism Chip
- Fortitude Crystal (M)
- Rafale Coin
- Fortitude Shard
Key Items & Other
- Partially Scorched Memo
- Surveillance Report: Phondam
- Wee Pincer
Enemy Drops
- Rupies
- Rafale Coin
Quest Rewards
- Prism Chip x1
- Fortitude Crystal (M) x1
- Fire Shard x1
- 10 MSP
Chapter 7: Warning Signs Quest Information
Chapter 7: Warning Signs Quest Description
After obtaining the catalyst to free Lyria from the mind sealer, the crew tracks Avia to Phondam and finds Lyria imprisoned in a crystal atop Vulkan Bolla, the primal beast of dread. The crew and Id join forces and pursue the primal to save Lyria.
Chapter 7: Warning Signs Quest All Chests Locations
- From the starting point, continue heading north, you'll see a Gold Chest on the other side of the area. You'll have to jump over the rocks and avoid falling down the volcano. Opening this chest will reward you Fortitude Crystal (S) x10 and Colossus Cane Omega.
- From the Silverslime, head back to the main route, and along the way, you'll find a chest that contains Fire Shard x3, some rupies, and 1 MSP.
- A silver chest can be found near the first Hallowed Ground you encounter. This chest contains Fortitude Crystal (S) x5, some rupies, and 3 MSP.
- During your second chase on the Vulkan Bolla, you'll find a silver chest along the way, keep an eye out on the right side while you're chasing the beast. The chest contains Burn Resistance II and some rupies.
- Another chest can be found during the second chase on the Vulkan Bolla. Keep an eye out on the left side while you're chasing the beast. This chest contains Fire Shard x2, 102 rupies, and 1 MSP.
- A silver chest can be found near the second Hallowed Ground you encounter. This chest contains Fortitude Crystal (S) x5, some rupies, and 3 MSP.
- A chest can be found during your third chase on the Vulkan Bolla. Keep an eye out on the right side while you chase the beast. This chest contains Fire Shard x3 and some rupies.
Chapter 7: Warning Signs Quest All Shrouded Treasure Locations
- There's a shrouded chest located near the Silverslime in the first area of the quest. Completing the task will reward you with Champion Merit, some rupies, and 5 MSP.
Chapter 7: Warning Signs Quest All Omen Stone Locations
- There are no Omen Stones for this quest.
Chapter 7: Warning Signs Quest All Wee Pincer Locations
There is a total of 3 Wee Pincers in this chapter.
- A Wee Pincer can be found near the first Gold Chest, on one of the platforms you'll have to jump across to reach the other side to open the Gold Chest.
- Once the first chase with the Vulkan Bolla begins, drop down and turn around, you can pick up a Wee Pincer on the ground behind you.
- During the second chase, stick to the left side of the path, you'll eventually spot a separated ground on the left side, jump across to make it on the platform, and pick up the Wee Pincer on the ground. The indicator would be a silver chest beside a wall of rock that will serve as a cover for the magma wave. The chest contains Fire Shard x2, some rupies, and 1 MSP.
Chapter 7: Warning Signs Quest All Slimes
- Once you reach The Phondam Isles, head straight and stick to the left side, you'll find a Goldslime hiding in the corner.
- After opening the first Gold Chest, turn around and jump over the rock to make it across the other side, you'll find a Silverslime in the corner.
Chapter 7: Warning Signs Quest All Archives
- From the ship, before you speak to Rackam to depart, you can pick up the Surveillance Report: Phondam archive on the ship.
- Once you reach The Phondam Isles, continue following the path ahead and you'll spot a purple loot at the edge of a cliff, pick it up to obtain the Partially Scorched Memo archive.
Chapter 7: Warning Signs Quest Objectives
- Head to Frightflame Altar
- Chase the primal beast that abducted Lyria
- Defeat Vulkan Bolla
- Defeat Lilith
- Speak with Rolan
- Fight off Avia's forces
- Speak with Rackam
GBF Relink Full Chapter 7: Warning Signs Walkthrough
Reach the Frightflame Altar
Upon starting the quest, turn around and you can pick up a Magma Worm loot. Along the way, you can pick up the Partially Scorched Memo document, you'll see a purple loot on the edge as you progress forward.
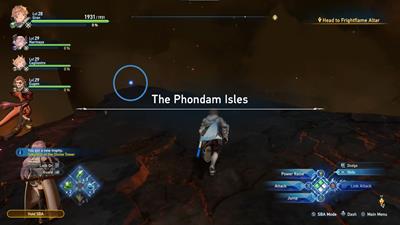
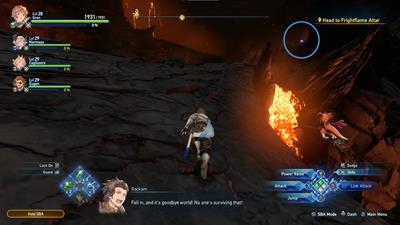
Now go back to the previous platform, and nearby you'll see a Gold Chest, you'll have to jump over two platforms. You can also pick up a Wee Pincer on the first platform you'll jump on to. Once you make it safely to where the Gold Chest is, open it to receive Fortitude Crystal (S) x10 and the Colossus Cane Omega. Turn around and jump over the platform on the right, on the left side you can slay a Silverslime to obtain additional loot and rupies.
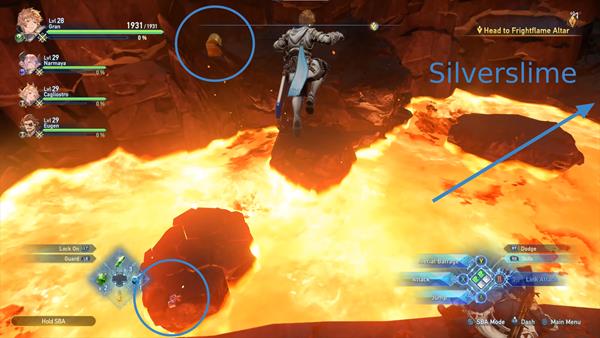
Just across the Silverslime is another chest, open it to obtain Fire Shard x3 and some rupies.
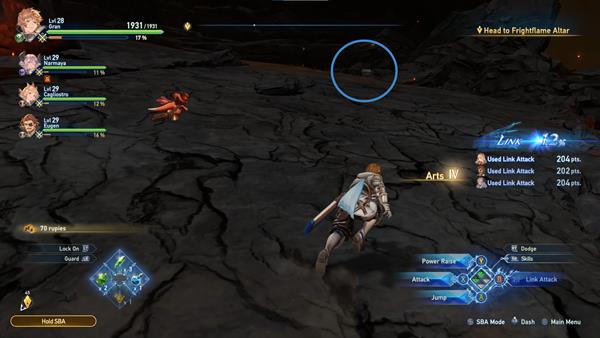
Continue following the main path and you'll spot a Shrouded Chest in the area. This chest contains Champion Merit, some rupies, and 5 MSP.
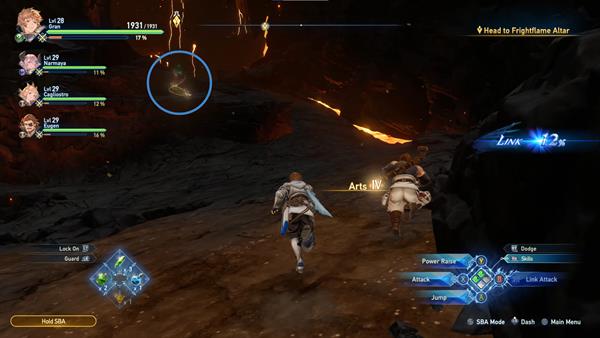
As you progress, you'll find the first Hallowed Ground for this quest. Next to it is a Silver Chest that contains Fortitude Crystal (S) x5, some rupies, and 3 MSP. Make sure to use the Hallowed Ground when necessary. Now head up the stairs to reach the altar. Upon reaching the area, a short cutscene will occur. You'll find Id in the area, along with the Vulkan Bolla. But this time, it seems like Id is fighting the beast to save Lyria.
First Chase
After the short cutscene, continue by following the primal beast. Keep an eye out for loot and chests in the area, but be careful, if you're slow the ground will sink into the magma and if you get caught you'll have to start over from the altar. Along the way, you can pick up a Salamander Egg. Keep an eye out on the left side of the area as you progress through the chase. Continue following the quest marker and you'll reach an area where you can finally engage with the Vulkan Bolla.
Boss Fight: Vulkan Bolla (1st Phase)
While fighting the Vulkan Bolla, it's important to note that two additional phases follow the initial one. To initiate the second chase, you must inflict substantial damage.
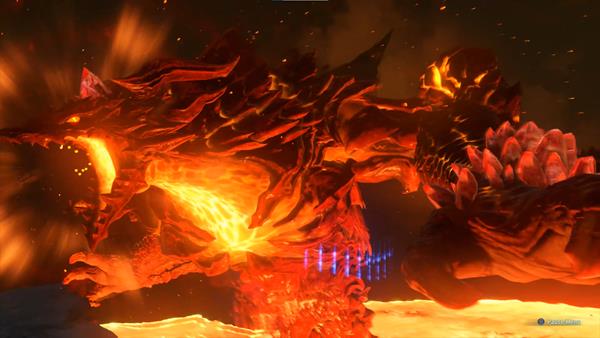
Id will temporarily ally with you during this encounter. Vulkan Bolla inflicts Fire damage and is susceptible to Water. Once its HP drops to 90%, the second chase will begin.
Second Chase
During the second chase, continue following the quest marker and avoid falling down the lava. This time, the Vulkan Bolla will start creating a magma wave, you'll need to hide behind cover to avoid Burn damage. Red indicators will be flashed on the ground signaling when the magma wave will occur. Along the way, you will spot a silver chest. keep an eye out on the right side as you chase the beast. This chest contains Burn Resistance II and some rupies.
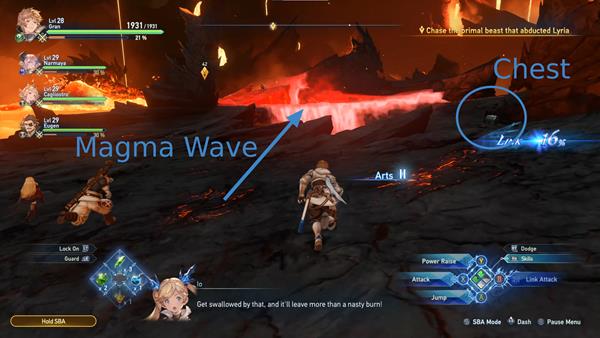
There's also a loot along the way, picking it up will reward you with Salamander Egg x2. This one will also be on the right side, but you'll have to take a glance behind you to spot it. Continue following the quest marker and anticipate when the magma wave will occur. You'll spot another chest on the left side as you chase the beast. This chest contains Fire Shard x2, some rupies, and 1 MSP.
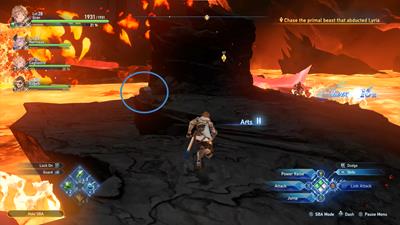
Once you safely make it to the next area, the second phase of the boss fight will begin.
Boss Fight: Vulkan Bolla (2nd Phase)
During the second phase, the Vulkan Bolla will retain the same moves it had during the first phase, but this time with additional moves. One of the moves is called Link Charge, during this state, everyone from your party will deal little to no damage with regular attacks against the boss.
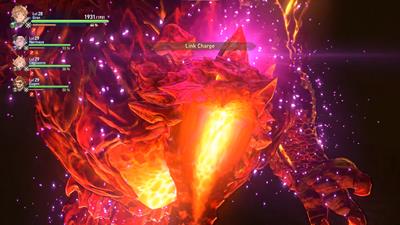
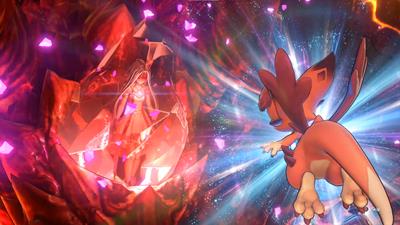
You don't have to do much during this phase, just wait for Vyrn to jump in and release the barrier. A short cutscene will trigger and the third chase begins.
Third Chase
Go through the wall that the Vulkan Bolla smashed, on the left side you find a Hallowed Ground, and a silver chest just next to it. Open the chest to receive Fortitude Crystal (S) x5, some rupies, and 3 MSP. Make sure to use the Hallowed Ground to heal everyone from your crew and replenish your recoverable items before you proceed. Before you jump down and begin the third phase of the boss battle, stick to the right side to find a chest. Open it to receive Fire Shard x3 and some rupies.
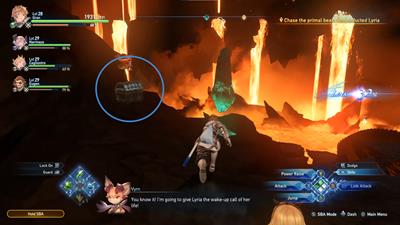
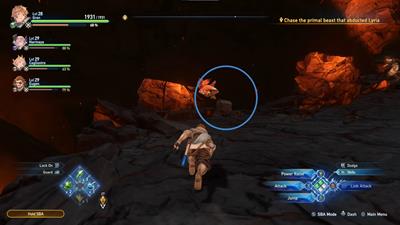
Once you jump down a short cutscene will occur and start the third and final phase of this boss fight.
Boss Fight: Vulkan Bolla (3rd Phase)
This phase is where the real boss fight begins. The Vulkan Bolla will constantly traverse through the molten lava, unleashing magma balls across the area. Avoid the red circles to evade burns. Focus your attacks on the crystals embedded in its arms for increased damage.
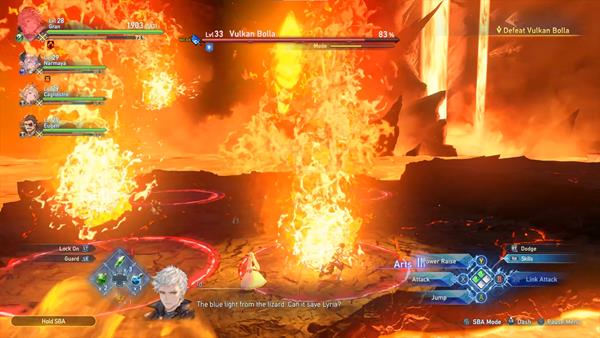
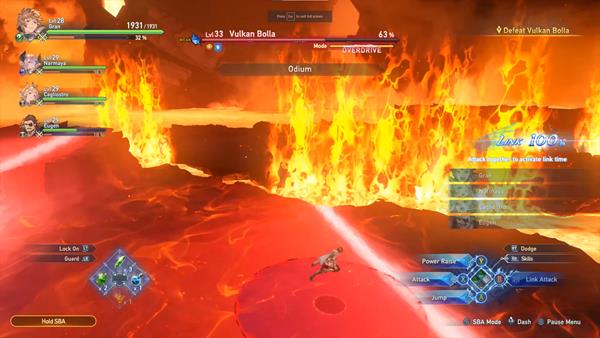
After a few seconds, it performs the Link Charge again; target the crystals, and when Vyrn intervenes, capitalize on the opportunity to deal significant damage. Upon entering Overdrive Mode, Vulkan Bolla executes "Odium," backing away to create a massive magma wave. Seek a safe area to evade damage, persistently attacking the crystals for substantial damage and stagger the boss.
The Vulkan Bolla will also execute the move called Auxilium where it begins summoning a giant ball of fire in the middle of the arena. You will have to attack the body parts connected to the mana emitting the ball of fire. You will have to do this within the time limit to succeed.
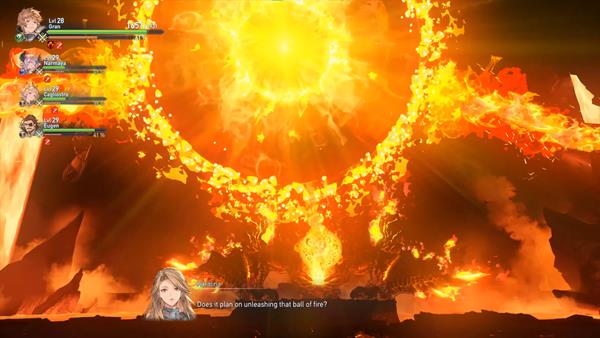
After successfully stopping the Auxilium, it will perform another Link Charge. A brief cutscene ensues, where Vyrn attempts to remove the barrier, but Vulkan Bolla retaliates. Id intervenes, slamming the boss's head to the ground, allowing Vyrn to exploit the opening and once again remove the barrier. Consistently deal damage by attacking the crystals and capitalize on Link Attacks and use your Skybound Arts to deal significant damage. After defeating the Vulkan Bolla, you'll receive Prism Chip, Fortitude Crystal (M), Fire Shard, and 10 MSP.
Boss Fight: Lilith
After defeating the Vulkan Bolla, Lyria is freed from the catalyst and Vyrn breaks the collar around her next to truly set her free. Lilith appears in the area and attacks the crew, all while instructing Id to retrieve Lyria. The boss fight begins shortly after. Do note that this is a predetermined boss fight, meaning you will lose this battle no matter what.
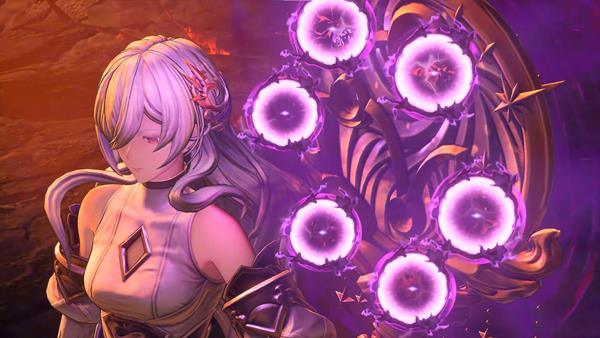
When you face defeat, Lilith will imprison you instead of killing you, as she suggests that Lyria wouldn't approve of it. When she escapes, Rolan arrives at the scene and somehow destroys the barriers, setting the crew free. The crew then returns to the ship with Rolan.
Returning to Seedhollow
Upon arriving on the ship, speak to Rolan. He will reveal the truth about himself and Lilith, that they're both Astrals. As well as Lilith's plan to open a gate using Angra Mainyu's power, a power that would result in the destruction of Zegargrande. Before they could finish discussing, a group of enemies suddenly ambushed the ship. Fight off Avia's forces to proceed.
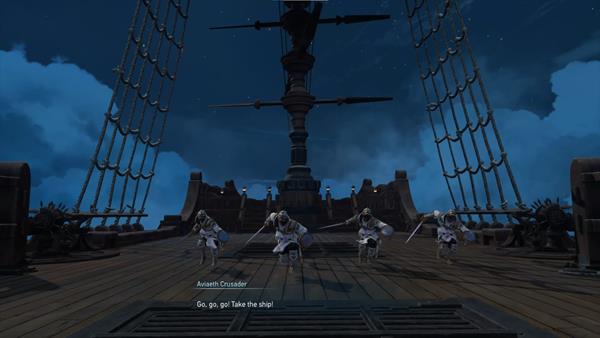
After clearing the enemies, a short dialogue with the crew will occur. After the dialogue, speak to Rackam to finish the quest. The crew ultimately decides to accept Rolan as an ally and plans to head back to Seedhollow with the objective of stopping Avia's plans. after a short cutscene, Chapter 8: Relink officially begins.
Chapter 7: Warning Signs Quest Notes and Tips
Notes, Tips, and Other Trivia for the Chapter 7: Warning Signs quest in Granblue Fantasy Relink go here.
